 by
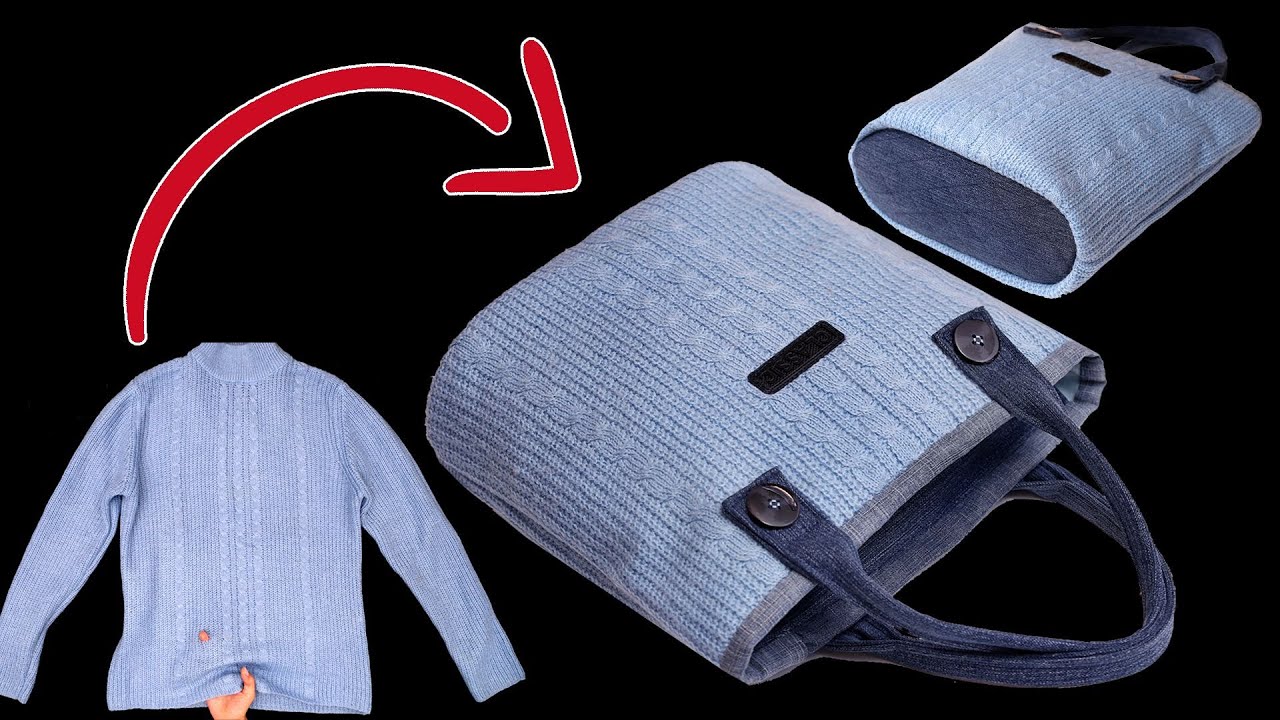
by Inspired by the brilliant concept of transforming an old sweater into a stylish handbag (as demonstrated in the reference video), the “Highland Tweed” Bucket Bag pattern offers a detailed guide to upcycling your favorite knitwear. This project leverages the thick texture and unique colorways of knit fabric—especially wool or tweed sweaters—to create a sturdy, fashionable, and highly practical drawstring bucket bag.
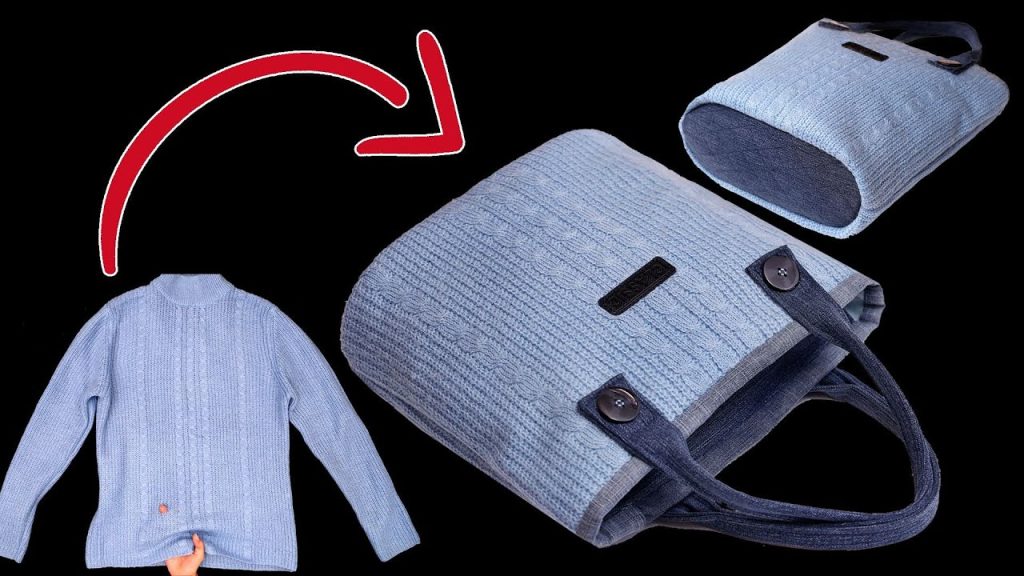
The use of an old sweater means you get premium fabric without the cost, resulting in a bag that feels luxurious and is completely unique!
- Finished Size: Medium Bucket Bag (Approx. 12 inches tall x 10 inches diameter)
- Difficulty: Intermediate (Requires basic machine sewing or strong hand-sewing skills, and lining installation).
- Time: Approximately 3-4 hours.
Materials & Tools Checklist
Select a sweater with a dense knit (like wool, cashmere, or thick cotton) for the best structure.
| Item | Quantity/Specification | Notes |
| Main Fabric | 1 large old sweater (at least Men’s Medium or Women’s Large) | Ensure it is clean and has a dense knit. |
| Lining Fabric | 1/2 yard of cotton or canvas fabric | Recommended for internal structure and pockets. |
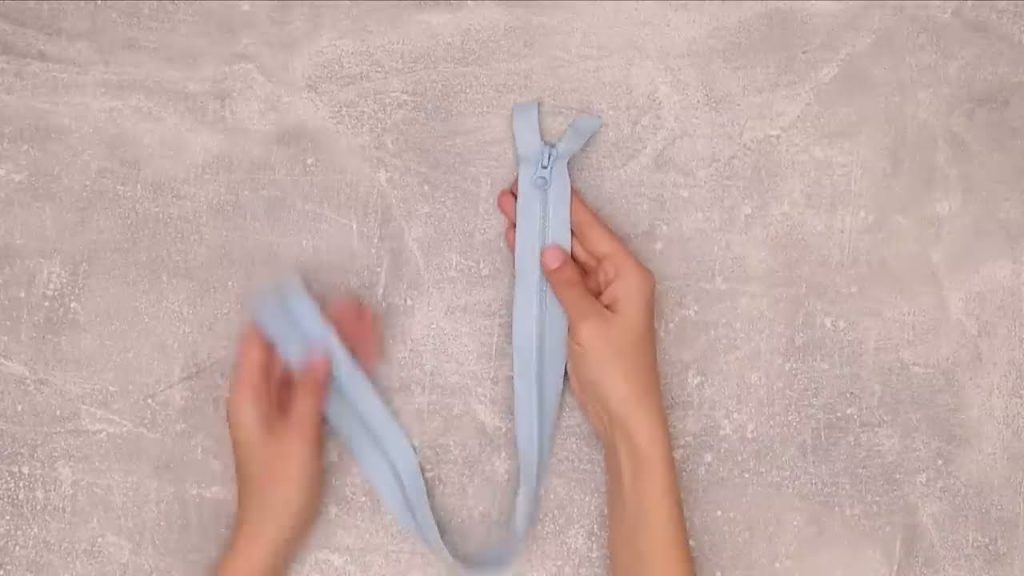
| Drawstring Cord | 1.5 yards of heavy cotton rope or cord (approx. 1/4 inch thick) | Used for cinching the bag closed. |
| Strap Material | 1 pre-made leather strap or 1/2 yard of webbing (Approx. 24 inches long) | For the shoulder strap or handle. |
| Interfacing | 1/4 yard heavy-duty fusible interfacing (optional) | Use for the base to ensure stiffness. |
| Hardware | 2 D-Rings, 2 Swivel Clasps (if using a removable strap), 2 Grommets (optional) | For strap attachment and cord exit points. |
| Notions | Sewing machine (recommended), matching thread, scissors, pins, chalk/marker. | All standard sewing tools. |
Phase 1: Preparing the Sweater Panels
We will harvest the main body fabric from the sweater while avoiding the bulky seams and cuffs.
- Cutting the Body: Lay the sweater flat. You will cut the main bag rectangle from the body section, ensuring the knit ribs run vertically (for the bucket bag look).
- Cut 1 (Main Body): Cut a large rectangle from the lower body of the sweater. Dimensions: 21 inches wide x 14 inches tall. (The 21-inch width accounts for the eventual diameter of the bag).
- Cutting the Base: We need a circle for the bottom.
- Cut 2 (Base Circle): Cut a square approximately 11×11 inches from the remaining body or sleeves. Use a plate or compass to cut this into a 10-inch diameter circle.
- Lining & Interfacing:
- Cut the Lining Fabric exactly the same size as the Main Body rectangle and the Base Circle.
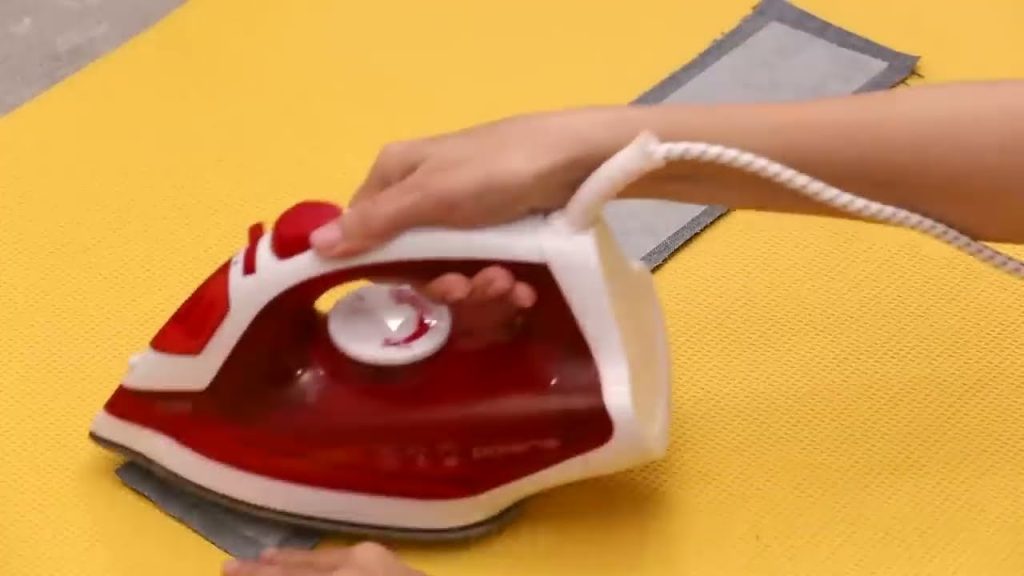
- Cut a piece of Interfacing the same size as the Base Circle. Fuse the interfacing to the wrong side of the lining base piece according to the manufacturer’s instructions.
Phase 2: Constructing the Bag Shell and Lining
This creates the outer bag shell and the matching lining insert.
A. Outer Bag Construction (Sweater Fabric)
- Body Tube: Fold the Main Body rectangle in half lengthwise (14 inches tall x 10.5 inches wide). Pin and sew the 14-inch raw edges together using a 1/2-inch seam allowance. You now have a knit tube.
- Attach Base: Pin the Base Circle to the bottom edge of the knit tube, easing the fabric as needed. Ensure the pins are tight. Sew carefully around the circle using a 1/2-inch seam allowance. Tip: If machine sewing knit, use a walking foot or a narrow zig-zag stitch to prevent stretching.
- Turn the shell right-side out.
B. Lining Construction
- Repeat Steps 1 and 2 above using the Lining Fabric pieces. The lining should be constructed exactly the same way, creating a fabric bucket. Do not turn the lining right-side out; keep it wrong-side out.
Phase 3: Creating the Drawstring Channel
This is the key feature of the bucket bag, allowing it to cinch closed.
- Mark the Channel: On the outer knit bag shell, measure down 1.5 inches from the top edge and draw a chalk line all the way around the circumference. Measure down another 1.5 inches and draw a second line. This marks the 1.5-inch channel.
- Sew the Channel: Carefully stitch along the two chalk lines, creating the channel for the drawstring cord.
- Grommet/Buttonhole (Optional): If using grommets, install two grommets on the front center of the channel, one between the two stitch lines. If not, carefully cut two small horizontal slits and hand-sew buttonhole edges around them.
Phase 4: Assembly and Finishing
- Inserting the Lining: Slide the wrong-side out lining inside the right-side out knit shell. The knit tube and the lining tube should be perfectly aligned at the top raw edge.
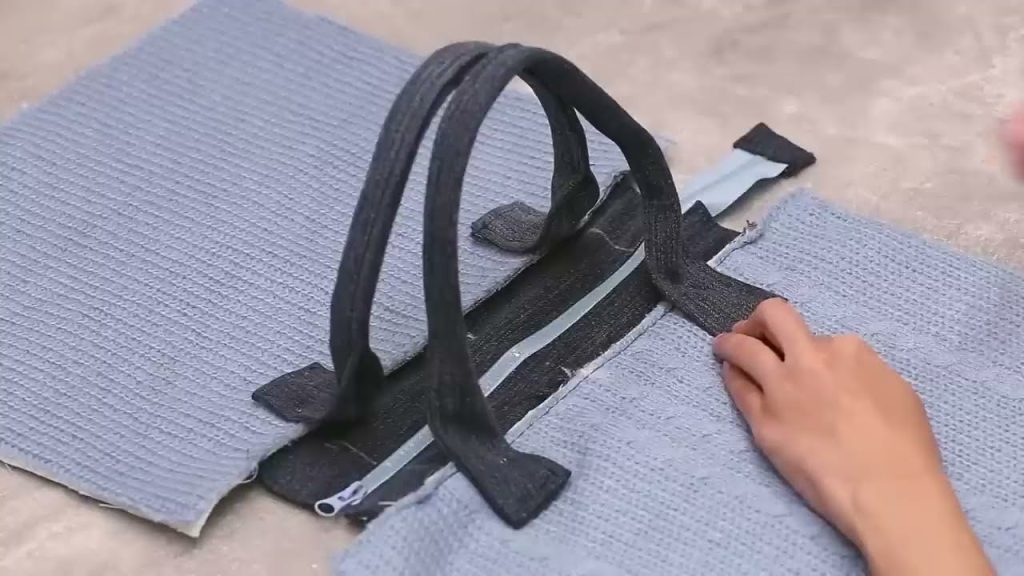
- Strap Attachment (Optional D-Rings): Measure and pin the placement for the strap: 4 inches from the left seam and 4 inches from the right seam. Pin the D-Rings (attached to fabric loops) firmly to the top edge of the knit shell, positioned between the shell and the lining.
- Top Edge Seam: Pin the knit shell and lining together around the top circumference. Sew them together using a 1/4-inch seam allowance, leaving a 4-inch opening for turning.
- Turning and Closing: Pull the entire bag through the 4-inch opening in the lining. The bag will now be right-side out.
- Closing the Lining: Hand-sew or machine-stitch the 4-inch opening in the lining closed. Push the lining back inside the bag.
- Top Stitch: Press the top edge flat and top-stitch around the entire circumference, close to the edge, to ensure the lining stays inside and the channel is secure.
Final Touches:
- Thread the Drawstring: Feed the drawstring cord through the channel you created. Start at one grommet/buttonhole, go all the way around, and exit at the second grommet/buttonhole. Knot the ends.
- Attach the Strap: If using a removable strap with swivel clasps, clip them onto the D-Rings. If using a permanent strap, securely sew the strap ends to the attachment points.
Your luxurious “Highland Tweed” Bucket Bag is ready! Cinch it closed and enjoy your high-end upcycle.
Video tutorial: