by
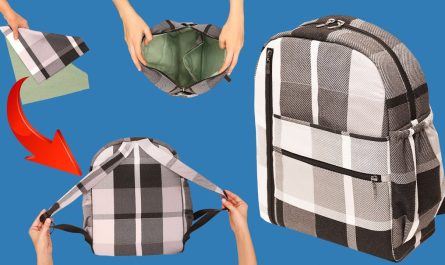
by Inspired by the ingenious upcycling and simple construction methods shown in the reference video, the “Midnight Bloom” Knot Bag offers a pattern for transforming a beautiful old scarf into a sophisticated, minimalist handbag. This project requires no sewing machine, relying instead on strategic folding, knotting, and minimal hand-stitching (or fabric glue) for a durable finish.
The resulting bag is a perfect size for evenings out or carrying essentials, and its flexibility allows it to drape beautifully—a luxurious second life for silk, chiffon, or high-quality polyester fabric.
- Finished Size: Approx. 10 inches tall (when filled) x 8 inches wide (main body).
- Difficulty: Beginner/Intermediate (Minimal hand-stitching required).
- Time: Approximately 1-2 hours.

Materials & Tools Checklist
The quality of your materials will determine the final look of this “luxurious bag.” Choose a scarf with a strong, detailed print.
| Item | Quantity/Specification | Notes |
| Main Fabric | 1 large square scarf (Approx. 35 x 35 inches or 90 x 90 cm) | Silk, satin, high-quality polyester, or chiffon are ideal. |
| Lining Fabric | 1 piece of fabric (matching scarf size) | Optional, but recommended for structure and protection. Cotton or satin lining works best. |
| Strap Material | 1 piece of leather, chain, or cord (Approx. 40-50 inches long) | Choose a pre-made strap or a material that complements the scarf print. |
| Structure/Cord | 1 length of thin, strong rope or thick piping (Approx. 20 inches) | Used to create the gathered drawstring closure. |
| Fasteners | 2 strong binder clips or clothespins | For temporarily holding edges while folding. |
| Notions | Hand-sewing needle, strong thread (matching scarf color), fabric glue (optional) | For securing the gathered opening. |
Phase 1: Preparing and Folding the Fabric
This folding technique forms the shape of the bag and is key to minimizing cuts and seams.
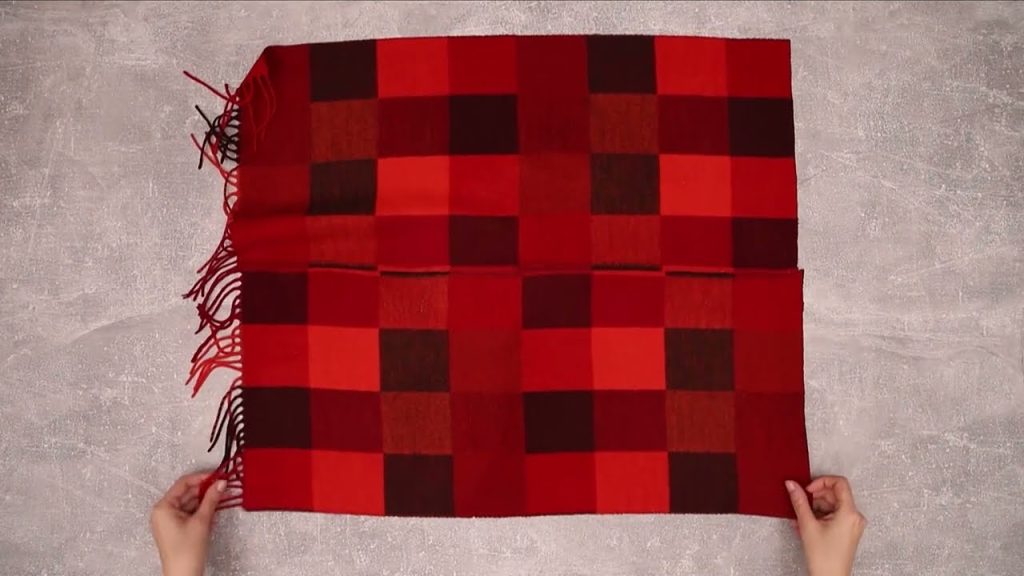
- Prep the Scarf: Lay your scarf wrong side up on a clean, flat surface. If using a lining, place the lining fabric on top of the scarf, also wrong side up. Treat the two layers as one piece for the following folds.
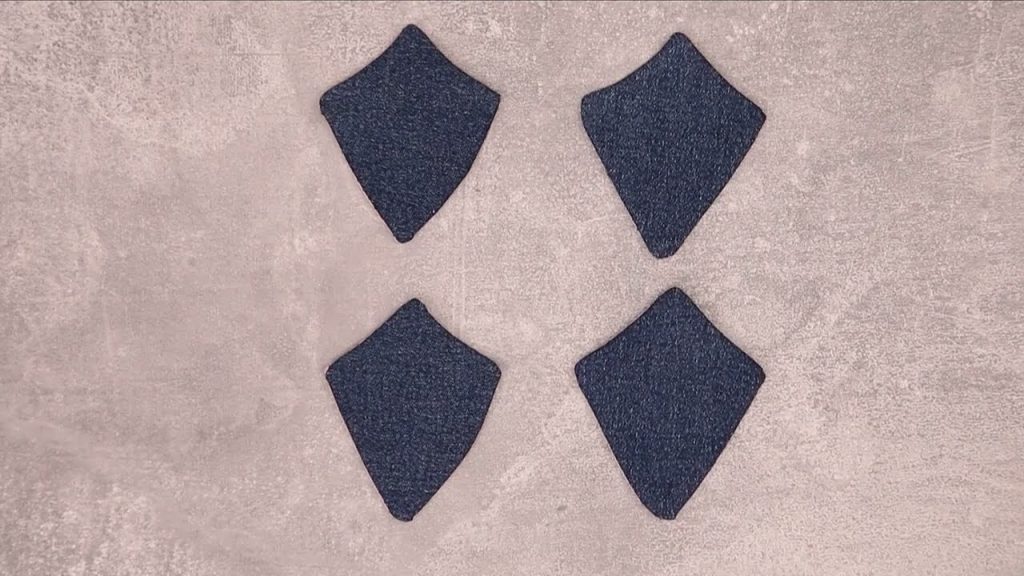
- The Triangle Fold: Fold the square scarf diagonally in half to form a large triangle. The center point of the square (which is now the peak of the triangle) will become the bottom center of your bag.
- The Base Folds: Identify the two acute corners (A and B) at the bottom edge of the triangle.
- Fold Corner A upwards, aligning its point with the center of the scarf’s long, folded edge.
- Repeat with Corner B, folding it upwards to meet the same center point.
- Result: You now have a rough, pentagon-like shape with a strong bottom edge and two ‘flaps’ meeting at the center top.
- The Side Folds: Fold the two outer edges of the pentagon inwards by about 2-3 inches on each side. This creates the narrow sides of the bag and adds structural stiffness. Press the folds firmly.
Phase 2: Shaping the Body and Creating the Gathers
This section shapes the upper body of the bag to create the signature rounded silhouette and establishes the closure.
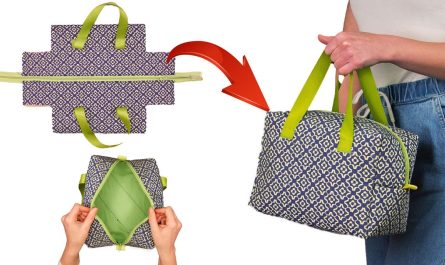
- Forming the Cone: Pick up the folded fabric. The top edges are now two separate flaps. Bring these flaps together and align the raw top edges. This movement naturally begins to form a 3D pocket/cone shape.
- Creating the Depth: At the very top center where the two flaps meet, clip them together with a binder clip. This point will be the center of your bag’s opening.
- The Bottom Knot (Optional): To create a rounded base instead of a sharp point, gather the fabric at the bottom center point and tie a very small, tight knot using the excess fabric. (Only do this if your fabric is not too thick.)
- Pinning the Closure Line: Identify the line where you want the bag’s opening to close (approximately 1.5 inches down from the raw top edge). Place a row of pins or marks along this circumference.
Phase 3: The No-Sew Drawstring Closure
This is the most critical step, where the bag’s structure is finalized using the rope/cord.
- Inserting the Rope: Lay the bag flat again. Take your thin rope or piping (approx. 20 inches). Starting at one side fold, weave the rope in and out through the fabric layers just below your pinned line (the closure line).
- The rope needs to go completely around the circumference of the bag’s opening.
- If you are using a very thin scarf, a row of hand-stitching a channel may be necessary here.
- The Cinching Stitch (Hand-Sewn): Using your needle and strong thread, work a tight running stitch (or a small whipstitch) around the entire circumference of the opening, following the line you just created with the rope.
- Crucial Step: When you are halfway around, place the two ends of your rope/piping into the opening so the rope ends meet. Continue stitching over the rope, effectively creating a channel that holds the rope inside.
- Securing the Channel: Once you have stitched all the way around, gently pull the two ends of the rope/piping. The fabric should gather tightly, cinching the top of the bag closed.
- Permanently Closing: Overlap the two rope ends at the top center. Using a strong thread, firmly stitch the rope ends together (or apply a drop of strong fabric glue) to make the gathered opening permanent. Trim the excess rope.
Phase 4: Final Assembly and Finishing
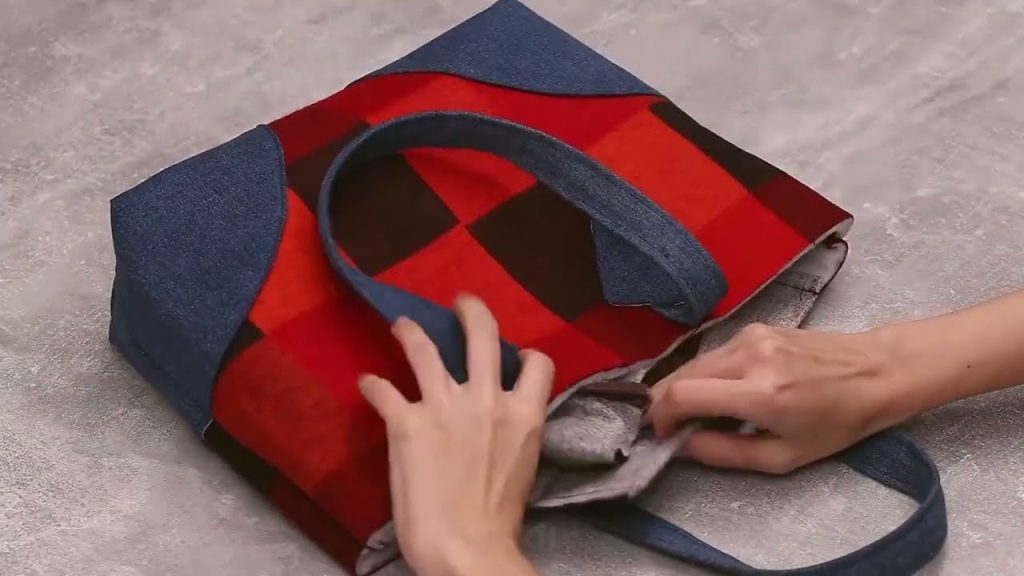
- Attaching the Strap: The bag is now gathered shut with a defined top center point. This is where your strap will attach.
- Take your pre-made strap. Locate the two ends.
- Hand-Stitch Method: Find a small, strong piece of fabric or a metal ring. Securely hand-stitch this reinforcement material to the gathered center point. Then, attach the two ends of your strap to this point using strong, precise stitches.
- Knot Method: If your strap is a thick cord, you can simply tie a decorative knot at the secured gathering point to form the handle.
- Shaping: Gently manipulate the fabric to ensure the bottom base is rounded and the side folds are crisp.
- Final Checks: Check all seams and gathering points for security. Use a small dot of fabric glue on the final knot of your stitching threads for extra durability.
Your “Midnight Bloom” Knot Bag is now complete! It’s a luxurious, unique accessory created from a single beautiful piece of fabric.
Video tutorial: