 by
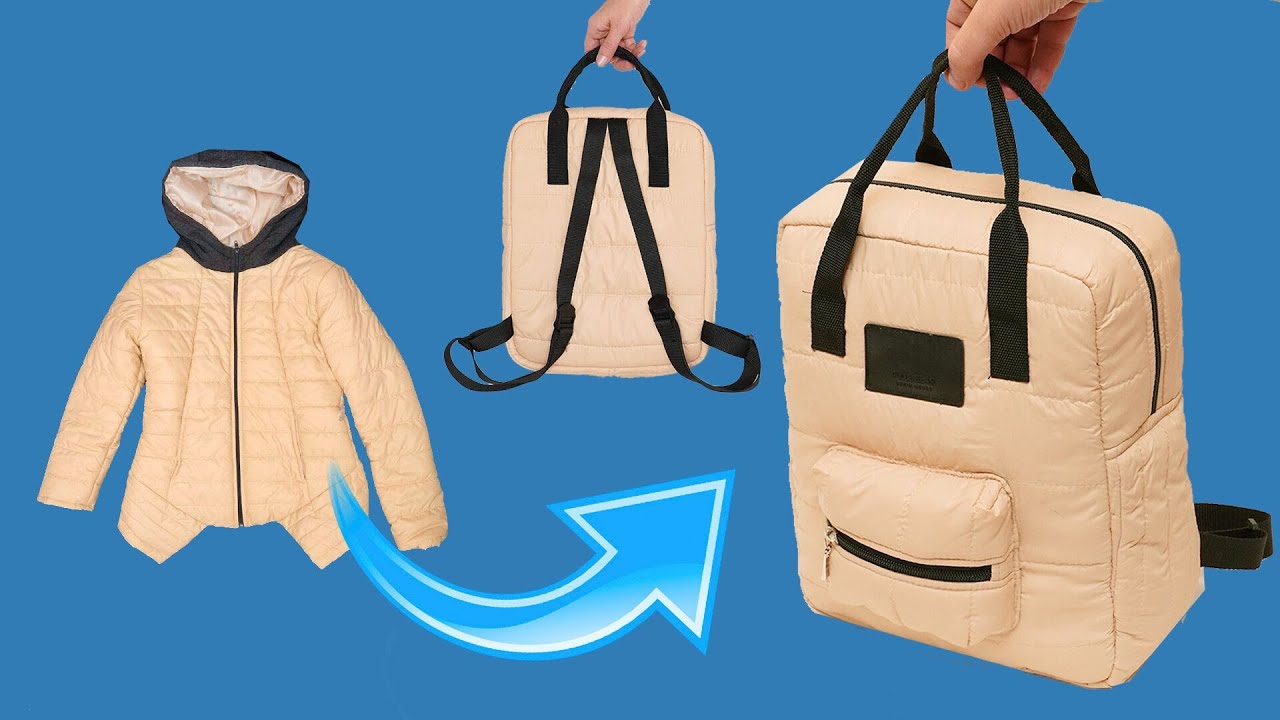
by Imagine turning a discarded trench coat or blazer into a chic, structured, and completely unique backpack! This detailed tutorial, inspired by the fantastic “How to sew a fashionable backpack out of an old coat simply!” video from Miarti – Reuse, will guide you through creating a stylish and functional backpack. This project is the ultimate in upcycling, resulting in a durable, sophisticated accessory with a drawstring closure and a practical flap top.
Get ready to unleash your inner designer, give an old garment new life, and create a fashionable, one-of-a-kind backpack perfect for school, work, or casual outings!

Why This “Trench Coat Transformation” Backpack Will Be Your New Favorite
This design is a brilliant blend of sustainability and sophistication, offering compelling reasons to make it your next sewing project:
- High-End Upcycling: Repurposing the sturdy, often weather-resistant fabric of an old coat creates a high-quality, durable bag that looks far more expensive than its materials.
- Structured & Chic: The interfacing and the coat fabric (like wool or trench material) give the bag a beautiful, structured shape.
- Secure Closure: It features a traditional drawstring top closure secured by a stylish flap, keeping your belongings safe.
- Outer Pocket: The design incorporates a convenient exterior pocket for quick access to essentials.
- Beginner-Friendly: While it has multiple components (body, flap, straps, casing), the steps are straightforward and involve mostly straight stitching.
- Customizable Size: Easily adapt the dimensions to create a larger or smaller backpack.
Materials You’ll Need:
Gathering your materials efficiently is the first step. The video uses a textured gray coat fabric, demonstrating how elegant the final product can be.
- Upcycled Coat/Jacket Fabric: You will need enough fabric for the main body, flap, and strap loops.
- Main Body: 2 pieces, 30 cm x 25 cm (Front and Back).
- Base: 1 piece, 25 cm x 10 cm.
- Flap: 1 piece, 20 cm x 20 cm.
- Lining Fabric (e.g., lightweight cotton): Enough to match all exterior pieces.
- Main Body Lining: 2 pieces, 30 cm x 25 cm.
- Base Lining: 1 piece, 25 cm x 10 cm.
- Flap Lining: 1 piece, 20 cm x 20 cm.
- Fusible Interfacing: Enough to match all exterior pieces for a crisp structure.
- Exterior Pocket Fabric: 1 piece, 20 cm x 30 cm.
- Drawstring Casing Fabric: 1 piece, 50 cm x 10 cm.
- Strap Webbing/Adjustable Straps: 2 pieces, 70-80 cm long x 2-3 cm wide.
- Drawstring Cord/Rope: Approximately 1.5 meters.
- Buckle/Snap Closure: 1 buckle (optional, for the flap) or 1 magnetic snap.
- Hardware: 2 D-rings (optional, for strap attachment).
- Matching Thread: High-quality polyester thread.
- Basic Sewing Tools: Sewing machine, fabric scissors or rotary cutter, ruler, fabric marker, pins or clips, iron, and ironing board.
Step-by-Step Tutorial: Crafting Your “Trench Coat Transformation” Backpack
This tutorial is broken down into five phases: preparing the pieces, assembling the exterior bag body, creating the flap and drawstring casing, installing the straps, and the final assembly. All seam allowances are 1 cm unless otherwise stated.
Phase 1: Preparation – Interfacing and Pockets
Fuse interfacing to all exterior and lining pieces (except the drawstring casing and pocket).
- Fuse Interfacing: Iron the fusible interfacing onto the wrong side of all Exterior pieces (Main Body, Base, and Flap) to give them shape and structure.
- Sew Exterior Pocket: Take the 20 cm x 30 cm Pocket Fabric. Fold it in half (20 cm x 15 cm) right sides together, stitch the sides, leaving a gap for turning. Turn right side out, press, and topstitch the open edge closed.
- Attach Pocket: Place the pocket onto the Front Main Body Exterior piece (30 cm x 25 cm), centering it about 5 cm up from the bottom edge. Pin and stitch the pocket to the exterior piece along the sides and bottom. You can add a division stitch down the center to create two smaller pockets.
Phase 2: Assembling the Exterior Bag Body
This creates the main structure of the backpack.
- Attach Base to Body: Take the Base Exterior piece (25 cm x 10 cm). Pin one 25 cm edge to the bottom 25 cm edge of the Front Main Body Exterior piece. Stitch. Repeat for the Back Main Body Exterior piece on the opposite 25 cm edge of the Base, forming a continuous strip.
- Sew Side Seams: Fold the piece so the two 30 cm side edges meet, right sides together. Pin and stitch these two side seams, forming the three-dimensional bag body. Leave the top 30 cm opening unstitched.
Phase 3: Creating the Flap and Drawstring Casing
The top closure components are prepared separately.
- Construct Flap: Take the Flap Exterior and Flap Lining pieces (20 cm x 20 cm). Round the corners of one edge of both pieces. Place them right sides together, pin, and stitch around the three rounded edges, leaving the straight edge open for turning.
- Turn and Finish Flap: Clip the curves, turn the flap right side out, and press neatly. Topstitch around the three curved edges for a professional finish.
- Create Drawstring Casing: Take the 50 cm x 10 cm Casing Fabric. Fold it in half lengthwise (50 cm x 5 cm) wrong sides together, and press. Sew a straight line down the long raw edge, securing the fold.
- Attach Casing to Exterior: Pin the raw edges of the casing to the top raw edge of the Exterior Bag Body (matching centers and side seams). Stitch the casing to the exterior body.
Phase 4: Constructing the Lining and Final Assembly
The lining is assembled, and the exterior and lining are joined.
- Assemble Lining: Stitch the Lining Pieces (Main Body and Base) together exactly as you did for the exterior body in Phase 2, but leave a 10 cm turning gap along the center of the bottom seam of the lining.
- Prepare Strap Loops (Base): Cut two small fabric loops (5 cm x 8 cm). Fold, press, and topstitch them like the handles in the previous tutorial. Slide a D-ring (if using) onto each loop. Pin these loops to the bottom side edges of the Exterior Bag Body base, pointing upwards.
- Join Exterior and Lining: Place the Exterior Bag Body (right side out) inside the Lining Bag Body (wrong side out), aligning the top raw edges (the top of the drawstring casing and the top of the lining). Pin and stitch all around the top raw edge.
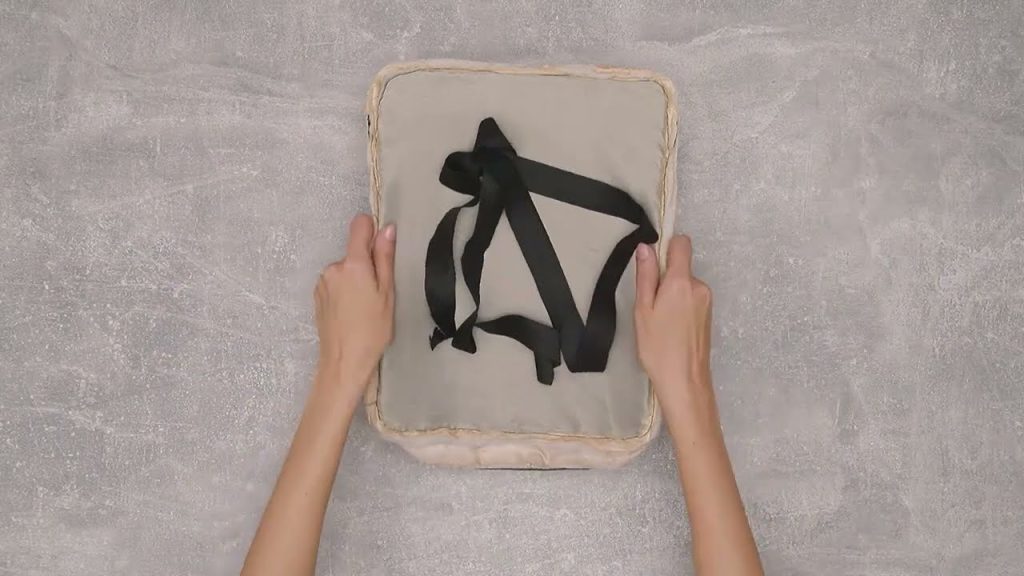
- Turn and Finish: Pull the entire backpack right side out through the turning gap in the lining. Stitch the turning gap closed. Push the lining neatly inside the backpack.
Phase 5: Straps and Drawstring
The final hardware is installed to complete the functional backpack.
- Install Drawstring: Thread your Drawstring Cord through the casing, starting and ending at the center back seam. Knot the ends securely.
- Attach Flap: Position the Flap centered on the Back Main Body. Pin and stitch the straight, raw edge of the flap to the Back Main Body exterior, just below the drawstring casing. Stitch securely.
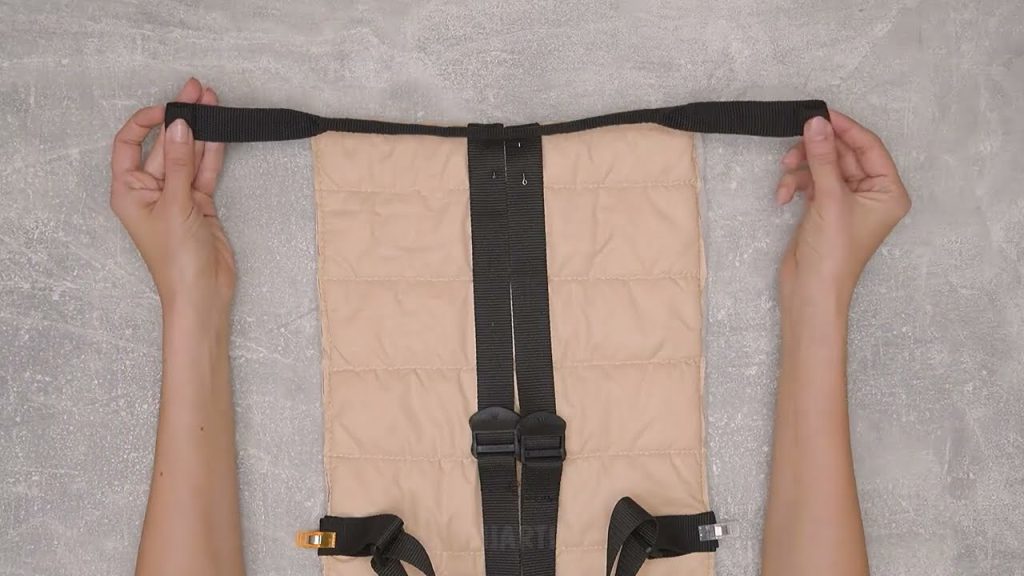
- Attach Shoulder Straps: Take your 70-80 cm Webbing Straps.
- Bottom: Sew one end of each strap to the D-ring loops you installed at the base of the bag, or directly to the base seam if you omitted the D-rings.
- Top: Sew the other end of each strap to the Top Back of the Bag (near the flap) for stability. Reinforce with a box or ‘X’ stitch.
Your unique “Trench Coat Transformation” Backpack is complete! This durable, stylish, and sustainable accessory is ready to hit the streets.
Video tutorial: