by
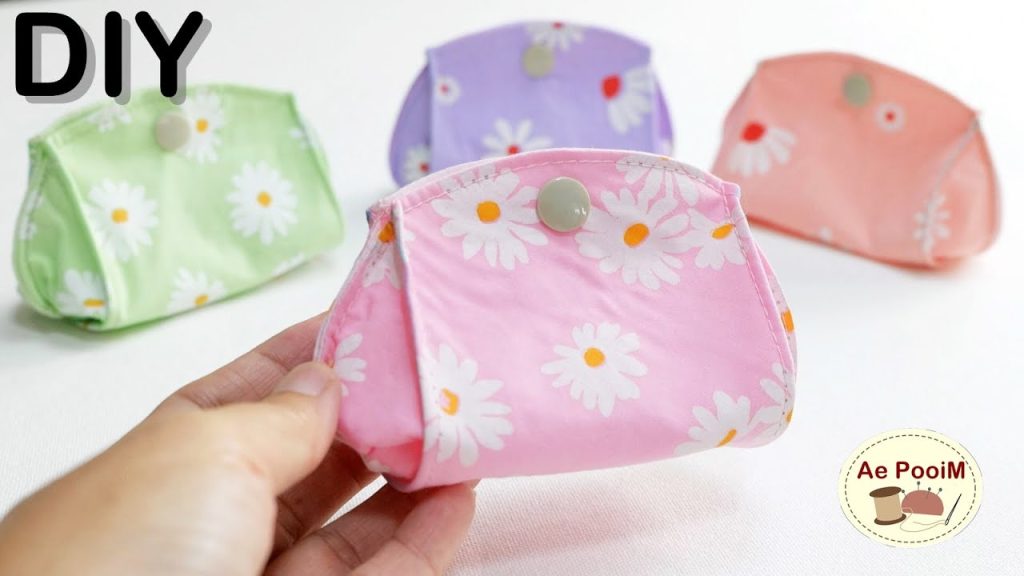
by Have you ever wanted to sew something but felt intimidated by complex patterns and lengthy instructions? Or maybe you’re a seasoned sewist looking for a quick, satisfying project to use up those small fabric scraps? This 5-minute coin purse tutorial is the perfect solution. It’s a simple, straightforward, and incredibly fast project that yields a practical and adorable little pouch perfect for coins, earbuds, or other tiny treasures. If you can sew a straight line, you can make this!
Materials You’ll Need
The beauty of this project lies in its simplicity. You don’t need much, and you likely already have these items on hand.
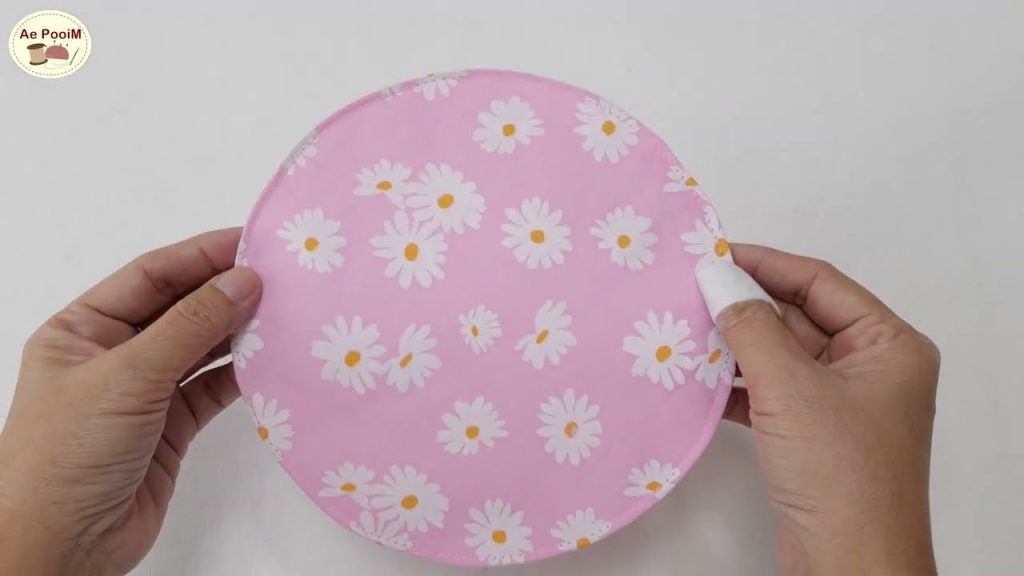
- Fabric Scraps: Two pieces of fabric, each about 5 inches by 6 inches. Cotton quilting fabric works great for this. You can use the same fabric for both pieces or use two different fabrics for a fun contrast.
- Zipper: One 4-inch to 6-inch zipper.
- Matching Thread
- Basic Sewing Tools: A sewing machine, fabric scissors, and a few pins or fabric clips.
That’s it! No complex patterns or a long shopping list. Let’s get started.
Step-by-Step Tutorial
Step 1: Lay Out Your Fabric and Zipper
This is the only “prep” step. Take one of your fabric pieces and lay it on your work surface, right side up. Place the zipper face down on the top edge of the fabric, making sure the edges are aligned.

Step 2: Sew the First Side of the Zipper
Now, take your second piece of fabric and place it on top of the zipper, right side down. Use pins to hold the three layers—the top fabric, the zipper, and the bottom fabric—in place. Using a zipper foot on your sewing machine, sew a straight seam along the edge, attaching the three layers together.
Once you’ve sewn the seam, flip the fabrics open. You will see that the zipper is now securely attached between the two pieces of fabric. Give it a quick press with an iron to make the seam crisp.
Step 3: Close the Purse and Sew the Sides
With the zipper still open, fold your two fabric pieces together so they are right sides facing. Make sure to align the edges and the zipper is in the center. The zipper pull should be inside the fold. Pin the edges in place.
Now, sew a seam along the three raw edges—the two sides and the bottom. Sew slowly and carefully, making sure you don’t sew over the zipper pull itself. Trim any excess thread and snip the corners to reduce bulk.
Step 4: Turn It Right-Side Out
This is the most satisfying part! Reach into the small opening you left (the zipper) and carefully pull the entire purse right-side out. Use your fingers or a small tool to push out the corners so they are nice and sharp.
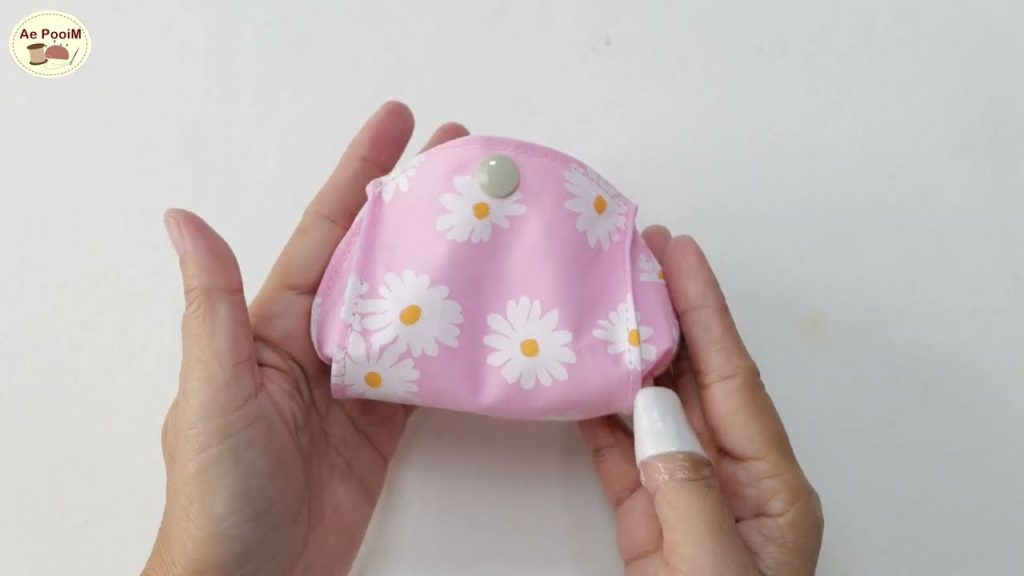
Give the entire purse a final press with the iron. You’ll have a perfectly shaped and functional coin purse in your hands!
Tips for Customizing Your Coin Purse
This basic pattern is a blank canvas for creativity. Here are a few ideas to make your coin purse even more special:
- Add a Key Ring: Before you sew the sides, fold a small loop of fabric or ribbon and pin it into one of the side seams. When you turn the purse right-side out, you’ll have a sturdy loop to attach a key ring or clasp.
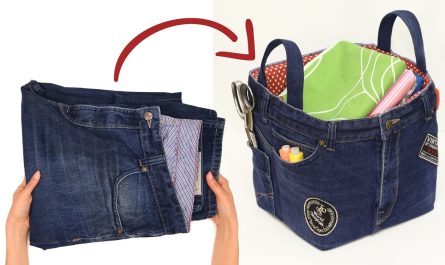
- Play with Fabric: Use contrasting fabric for the front and back, or choose a bold, fun print. You can also mix textures, like using a sturdy denim with a fun cotton lining.
- Add Embellishments: Sew on a small patch, add a few decorative stitches, or attach a colorful charm to the zipper pull.

This simple project proves that you don’t need a lot of time or materials to create something beautiful and useful. Grab those fabric scraps and get sewing—you’ll be amazed at what you can make in just a few minutes.
Video tutorial: