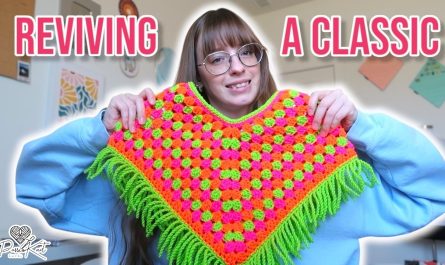
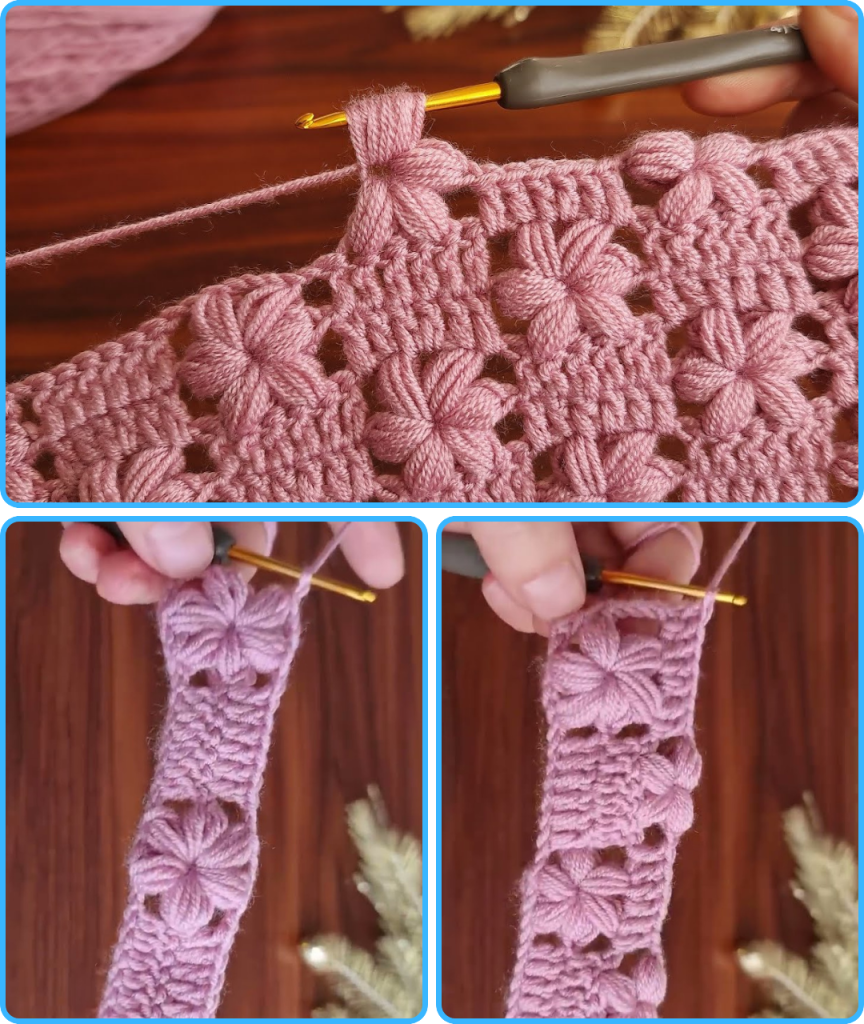
A handmade baby blanket is a timeless and cherished gift that will be treasured for years to come. The “Dreamy Waves” Crochet Baby Blanket is a perfect project for any crocheter, featuring a simple, repetitive stitch pattern that creates a beautiful, wavy texture. This detailed tutorial will guide you through creating a soft, cozy, and charming blanket that is perfect for keeping a little one warm.

This project is an excellent choice for a beginner looking to create a beautiful, practical item or for an experienced crocheter wanting a fast and fun project. The repetitive nature of the two-row repeat is easy to memorize and makes for a wonderfully meditative project.
Why Crochet the Dreamy Waves Blanket?
- Soft & Cozy: The stitch pattern creates a beautiful, undulating texture that is incredibly soft and comfortable for a baby.
- Beginner-Friendly: Uses only fundamental crochet stitches, making it accessible for those new to the craft.
- Customizable: Easily change the size and colors to create a blanket that is a perfect fit for you.
- Works Up Quickly: The combination of simple stitches and a larger hook means your project will grow fast!
- Heartfelt Gift: A handmade blanket is a personal and incredibly thoughtful gift for a new baby.
1. Planning Your Blanket: Size & Materials
- Finished Size: The pattern is written for a versatile 30 x 36 inch (76 x 91 cm) baby blanket. You can easily adjust the size by changing your hook size or the starting chain length.
- To adjust the width, ensure your starting chain is a multiple of 10 + 2.
- Yarn Choice: Choose a yarn that is soft, gentle on a baby’s skin, and machine-washable.
- Fiber: Look for a baby-specific yarn in acrylic, cotton, or a soft wool blend.
- Weight: Worsted Weight (#4) yarn is ideal for this project, as it creates a beautiful, cozy fabric.
- Color: A single, solid color will best highlight the beautiful texture of the stitch, but a variegated yarn or a few color stripes would also look great.
- Quantity: You will need approximately 800-1000 yards (730-915 meters) of yarn.
2. Materials You’ll Need
- Yarn: Your chosen quantity of Worsted Weight (#4) yarn.
- Crochet Hook: 5.0 mm (H-8 US) or a hook size that gives you a lovely, flexible fabric with your yarn.
- Scissors: For cutting yarn.
- Yarn Needle (Tapestry Needle): For weaving in ends.
- Stitch Markers (Optional): To mark the beginning and end of rows.
3. Essential Crochet Stitches & Techniques
- Slip Knot
- Chain (ch)
- Slip Stitch (sl st)
- Single Crochet (sc)
- Double Crochet (dc)
- Working in Rows: The blanket is worked in flat rows.
4. Let’s Crochet the Dreamy Waves Blanket!
The blanket is made from a simple two-row repeat that creates a beautiful, rippling effect.
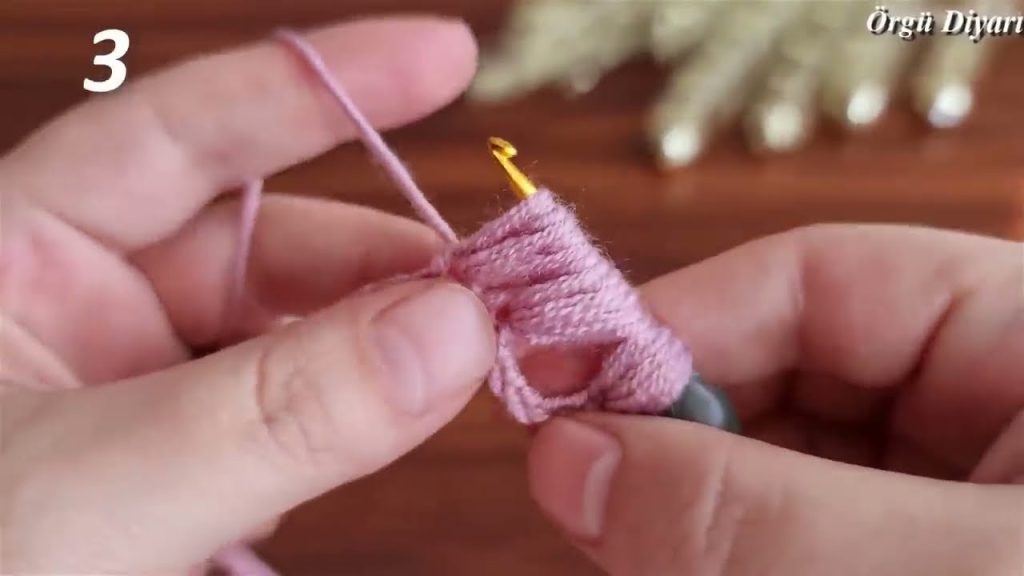
Pattern Notes:
- The pattern is a multiple of 10 stitches + 2.
- Ch 1 at the start of a row does NOT count as a stitch.
- Ch 3 at the start of a row counts as a dc.
The Blanket Body
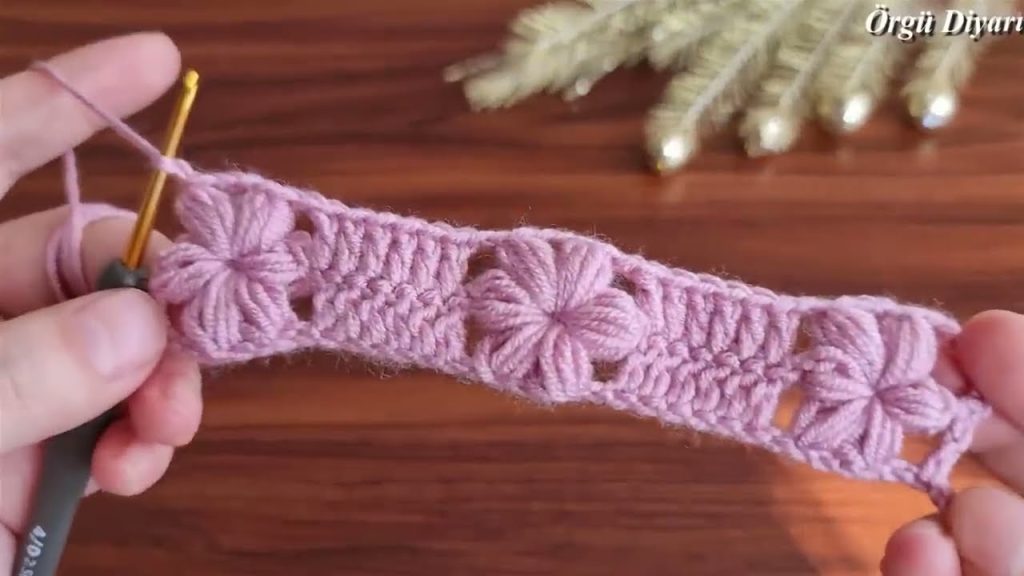
- Foundation Chain: Ch 122.
- Row 1: Sc in the 2nd ch from the hook. Sc in each ch across. Ch 1, turn.
- [121 sc]
- Row 2: Ch 3 (counts as a dc). Dc in the next 2 stitches. Work 5 dc into the next stitch. Sc in the next 5 stitches. Work 5 dc into the next stitch. Dc in the next 5 stitches. Repeat from * to * across the row. Dc in the last 3 stitches. Ch 1, turn.
- Row 3: Ch 1. Sc in each stitch across. Ch 1, turn.
- The waves will begin to take shape on this row!
- Repeat Rows 2 and 3: Continue repeating these two rows until the blanket reaches your desired length (for a standard baby blanket, about 36 inches / 91 cm long).
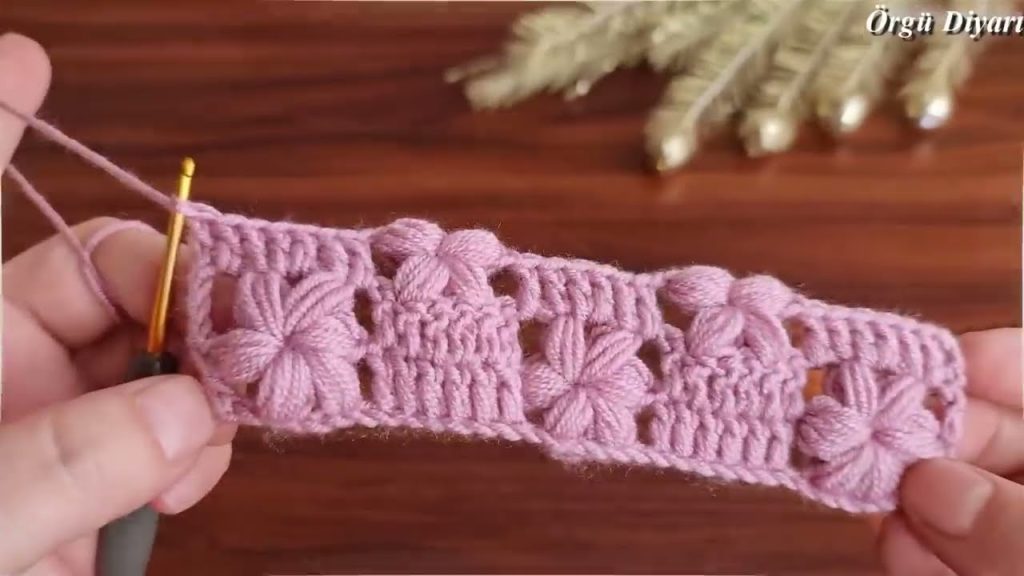
Finishing Touches
- Once your blanket reaches the desired size, fasten off and weave in all ends securely.
- Optional Border: For a finished look, you can add a simple border of single crochet stitches around the entire edge of the blanket.
Enjoy your beautiful, handmade “Dreamy Waves” Crochet Baby Blanket. It’s a labor of love that is a perfect addition to any baby’s wardrobe!
Video tutorial:


