 by
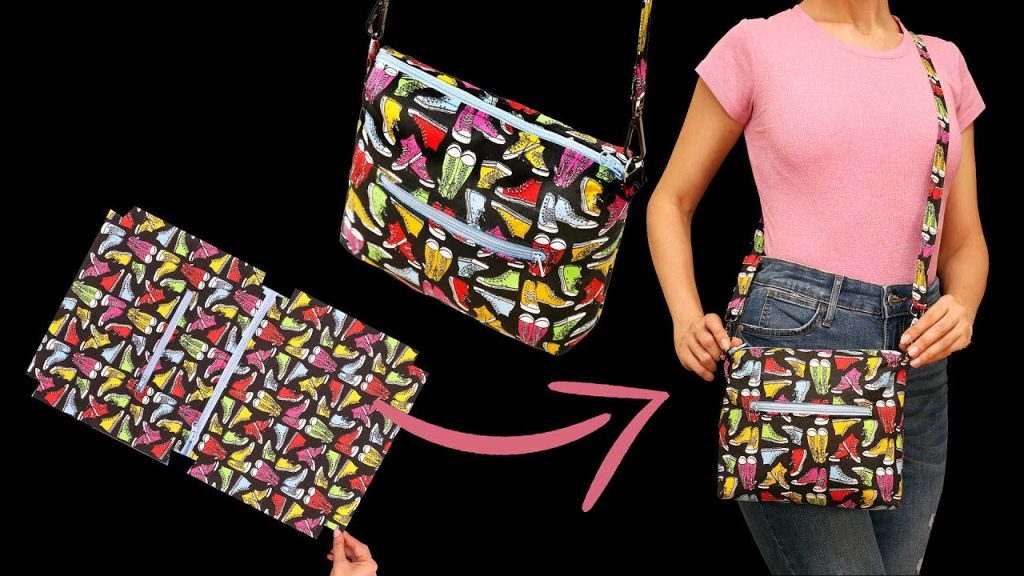
by In today’s world of fast fashion and disposable accessories, making your own shoulder bag or crossbody bag is not only an eco-conscious move — it’s a rewarding creative journey. Whether you’re new to sewing or a seasoned crafter, you may be surprised by just how easy and enjoyable it can be to create your very own custom bag.
This article explores the ease of sewing a shoulder or crossbody bag, from simple designs to optional custom features, providing a step-by-step guide, material recommendations, and expert tips for success.
🧵 Why Make Your Own Shoulder or Crossbody Bag?
There are several great reasons to try your hand at sewing your own bag:
- Beginner-friendly: Many crossbody and shoulder bag designs require only basic sewing skills.
- Customization: Choose your fabric, shape, size, pockets, and strap length.
- Practical use: Bags are functional items — you’ll use it almost every day!
- Budget-friendly: Save money by using fabric scraps or upcycling old materials.
- Sustainable: Reduce waste by reusing textiles and avoiding mass-produced items.
🎒 What Makes It “Easy” to Sew a Bag?
Many people shy away from sewing bags, thinking it requires advanced skills or equipment. But in reality, many basic shoulder and crossbody bag patterns are incredibly simple. Here’s why:
✅ 1. Straight Line Sewing
Most beginner bag designs rely on straight stitches — no complicated curves or tailoring. This is perfect for beginners using a domestic sewing machine or even sewing by hand.
✅ 2. Minimal Pieces
Unlike garments that involve sleeves, darts, or zippers, a simple bag may consist of just:
- 2 outer fabric panels
- 1 or 2 lining pieces
- 1 long strap
✅ 3. No Fancy Tools Needed
You don’t need an industrial machine or specialty tools. Most bags can be made using basic sewing supplies:
- Fabric scissors
- Pins or clips
- Thread
- Standard sewing machine
✅ 4. Fast Results
A basic shoulder or crossbody bag can be completed in under 2 hours, giving a quick sense of accomplishment — perfect for beginners who want to see results fast.

📦 Basic Supplies You’ll Need
🧶 Materials:
- Fabric: Choose cotton canvas, denim, corduroy, or quilting cotton for the outer shell. For the lining, lighter cotton or polyester works well.
- Thread: Heavy-duty or polyester thread is more durable.
- Strap material: Fabric, webbing, or recycled belt.
- Interfacing (optional): Adds structure to soft fabrics.
- Closure (optional): Zipper, magnetic snap, button, or velcro.
🛠 Tools:
- Sewing machine (or hand needle)
- Fabric scissors or rotary cutter
- Pins or clips
- Ruler or measuring tape
- Iron and ironing board
- Fabric marker or chalk
✂️ Step-by-Step: Sewing a Simple Crossbody or Shoulder Bag
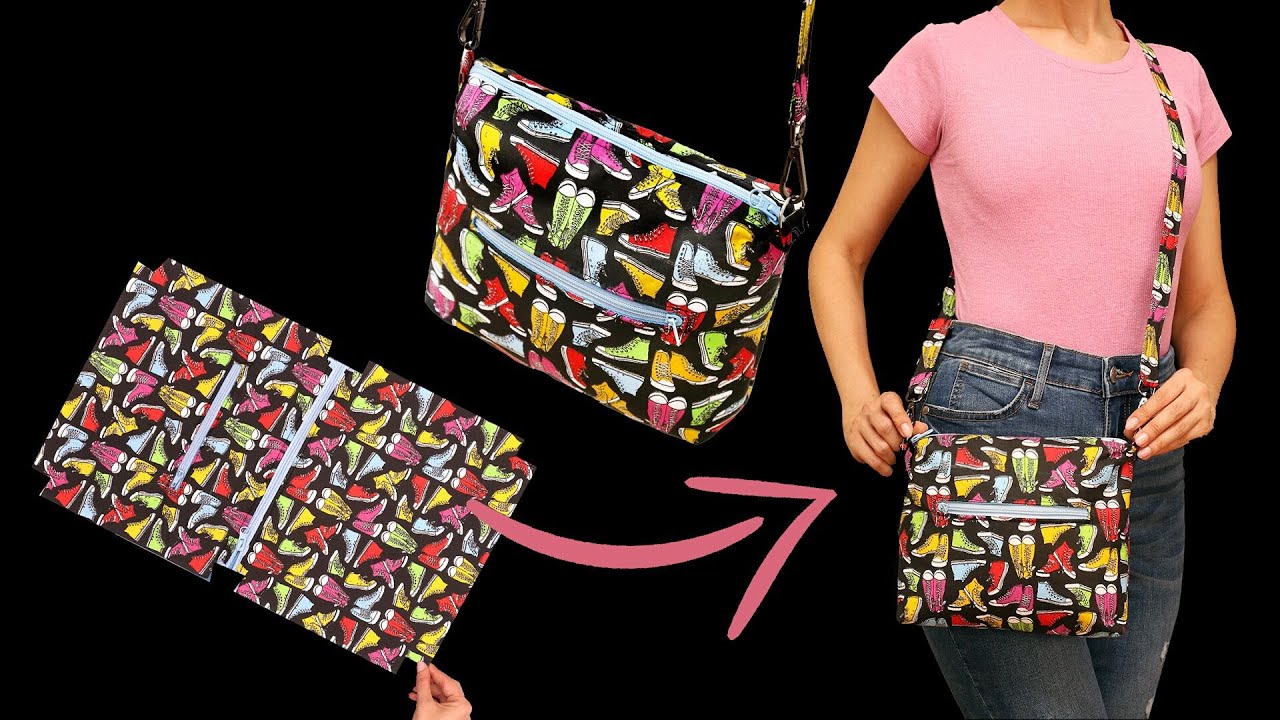
This tutorial outlines how to sew a basic rectangular crossbody/shoulder bag with lining and a strap — ideal for beginners.
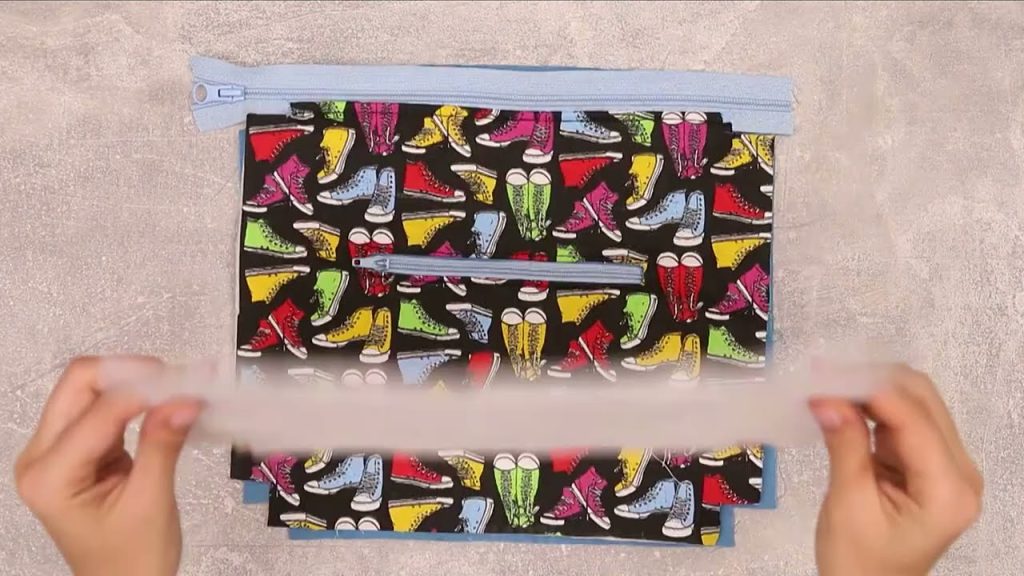
✅ Step 1: Cut Your Fabric
Decide on your bag dimensions. A standard small crossbody might be:
- Bag body: 10″ x 12″ (cut 2 outer + 2 lining pieces)
- Strap: 2.5″ x 40″ (cut 1 from outer fabric or use webbing)
- Optional pocket: 6″ x 8″
Cut:
- 2 outer fabric rectangles (bag front & back)
- 2 lining rectangles
- 1 long strap piece (or use cotton webbing)
- Optional interfacing (same size as bag body pieces)
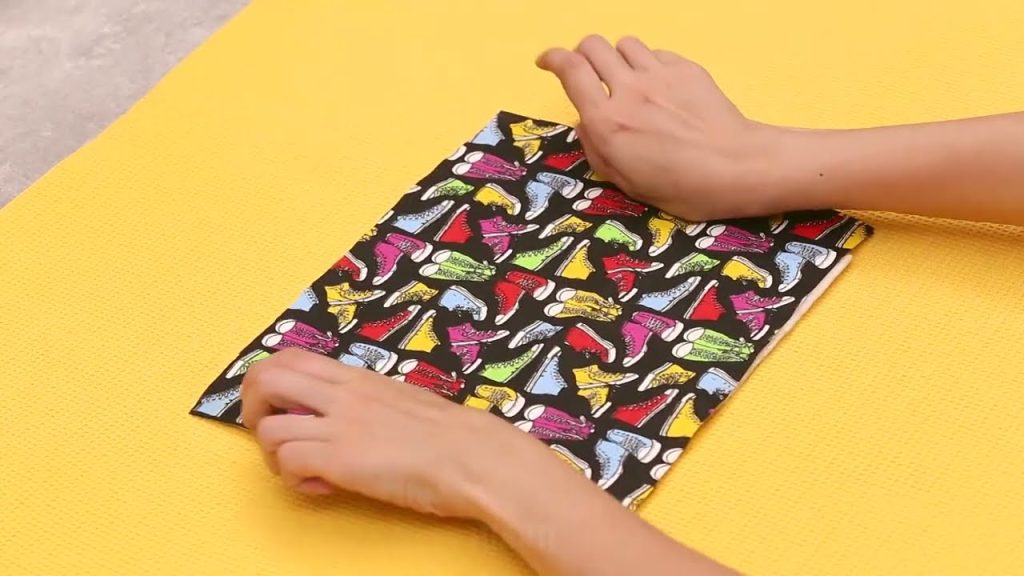
✅ Step 2: Prepare the Outer Bag
- Attach interfacing to the wrong side of the outer fabric if using.
- If adding an outer pocket, hem one edge, pin in place, and sew around the sides and bottom of the pocket on one outer panel.
- Place the outer panels right sides together and pin.
- Sew along both sides and bottom, using a ½” seam allowance.
- Clip corners and turn right side out. Press.
✅ Step 3: Sew the Lining
- Place the lining pieces right sides together.
- Sew the same three sides, but leave a 3–4 inch gap at the bottom for turning later.
- Do not turn the lining right side out.
✅ Step 4: Attach the Strap
If making your own strap:
- Fold the fabric strap piece in half lengthwise, right sides together.
- Sew down the long edge with a ¼” seam.
- Turn it right-side-out, press, and topstitch for durability.
Attach strap to the outer bag:
- Pin each end of the strap to the side seams of the outer bag, raw edges aligned with the top edge of the bag, forming a loop.
- Make sure the strap isn’t twisted.
- Baste in place.
✅ Step 5: Assemble the Bag
- Place the outer bag inside the lining, right sides together.
- Align side seams and pin all around the top opening.
- Sew around the entire top edge, enclosing the strap ends between the layers.
✅ Step 6: Turn and Finish
- Pull the outer bag and strap through the hole in the lining.
- Push the lining into the bag and press the top edge.
- Topstitch around the top edge for a finished look and to strengthen the strap attachment.
- Hand-stitch or machine-sew the gap in the lining closed.
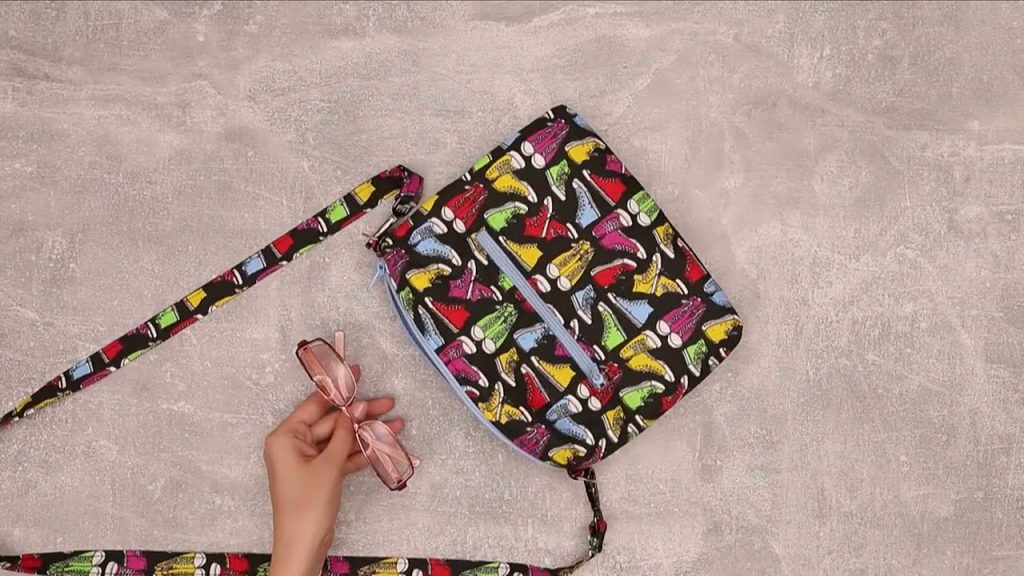
🎉 Your bag is now ready to use!
💡 Beginner-Friendly Tips
- Use sturdy fabrics for the outer shell to give the bag shape.
- If you’re intimidated by zippers, stick with a flap or open-top design.
- Make your first bag without a lining if you want a super-simple version.
- For extra organization, add inside or outside pockets later as your skills grow.
- Use bias tape to finish raw edges if you’re skipping a lining.
🧑🎨 Design Variations for More Style
Once you master the basic bag, try variations like:
- Zippered top or inner pocket
- Reversible fabric designs
- Flap with magnetic snap
- Two-tone fabrics
- Decorative embroidery, patchwork, or stenciling
- Adjustable strap using D-rings or buckles
🧺 Care Instructions
Depending on your fabric:
- Machine washable: Use cold water and gentle cycle
- Air dry: To prevent shrinkage or fabric distortion
- Spot clean for delicate materials or embellished designs
🧶 Is It Really That Easy?
Absolutely. A basic shoulder or crossbody bag is one of the easiest sewing projects, especially when compared to garments or quilts. Most people with a basic sewing machine and beginner-level skills can complete a functional bag in 1 to 2 hours.
It’s an ideal starter project for:
- Sewing hobbyists
- Teens and students
- DIY crafters
- Eco-conscious individuals
- Handmade gift makers
🛍️ Final Thoughts
Sewing your own shoulder or crossbody bag is a surprisingly easy and highly satisfying project. With minimal materials, a bit of time, and a dash of creativity, you can craft a personalized bag that reflects your style and meets your daily needs.
It’s not just about sewing — it’s about creating something useful, sustainable, and uniquely yours.
So grab some fabric, thread your needle, and start stitching your new favorite accessory!
Video tutorial: