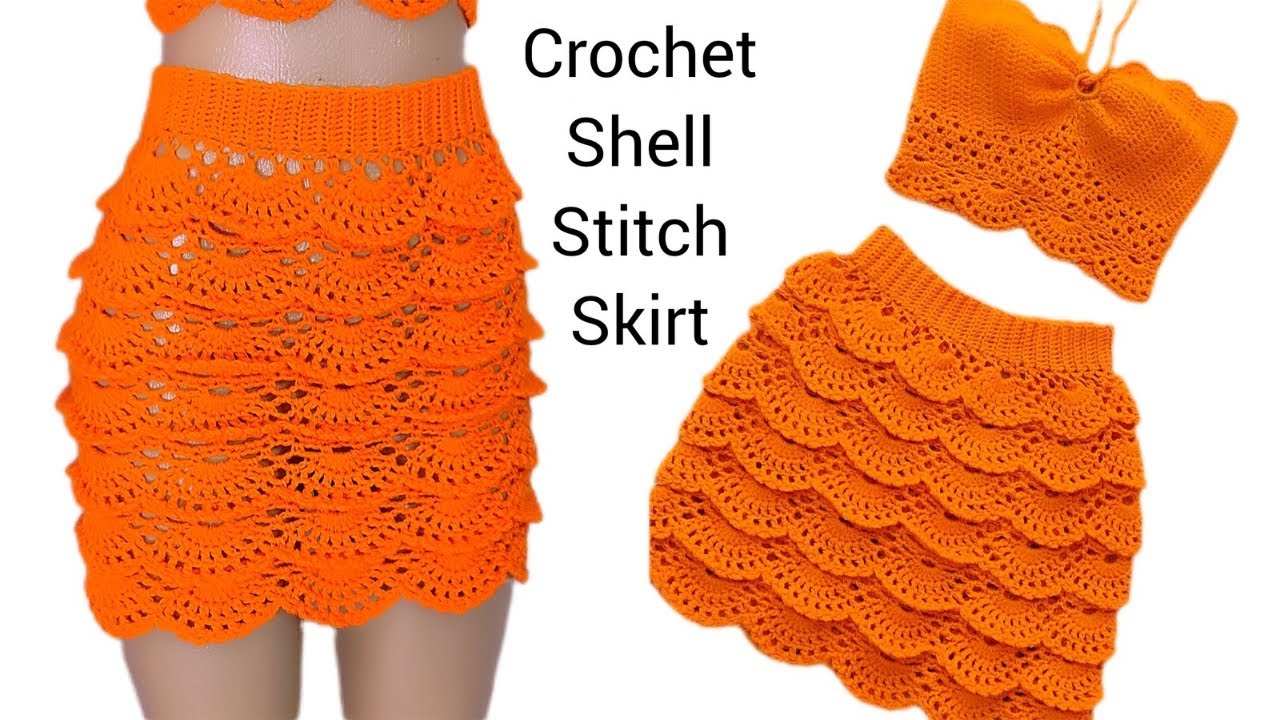
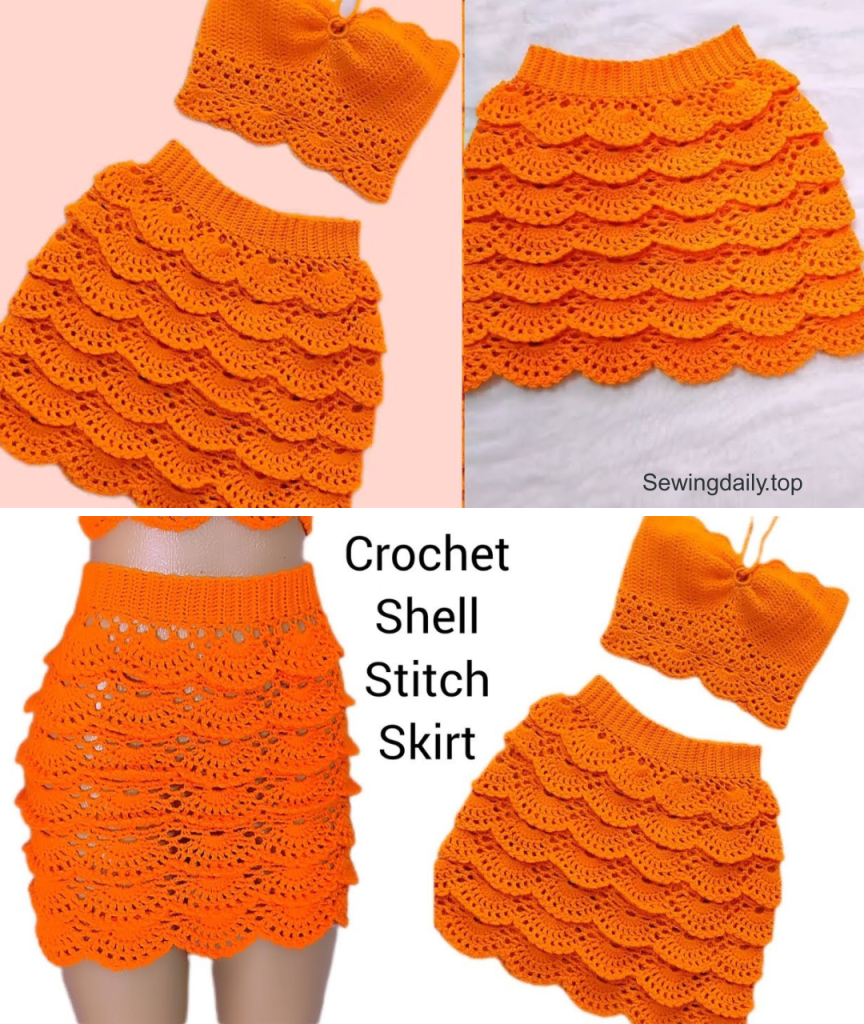
 by
by Crochet skirts are fashionable, versatile, and surprisingly simple to make—especially when using the shell stitch, a classic crochet pattern known for its elegance and texture. Whether you’re creating a beachy cover-up, a chic summer piece, or a cozy fall skirt, the shell stitch offers endless design possibilities.
In this guide, we’ll walk you through everything you need to know to crochet your own shell stitch skirt, from understanding the stitch itself to designing and constructing a custom-fit skirt. Whether you’re a beginner or intermediate crocheter, this tutorial will help you craft a piece you can wear with pride.

🧶 What is the Shell Stitch?
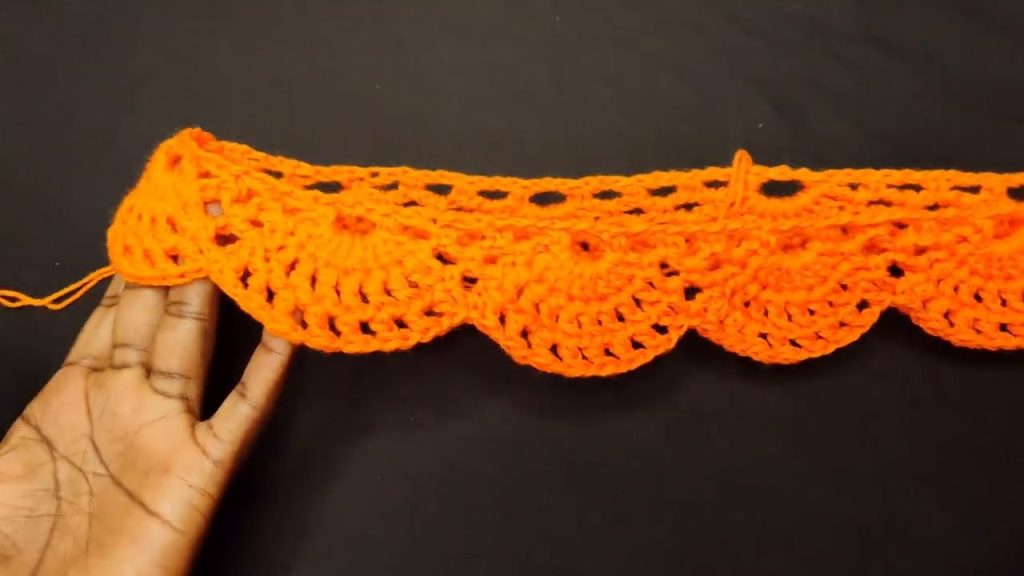
The shell stitch is a decorative crochet technique made by working several stitches (usually double crochets) into the same stitch or space, creating a “shell” or fan-like shape. It adds texture, volume, and a lacy, feminine feel to garments.
🧵 Basic Shell Stitch Pattern (U.S. Terms):
One shell = 5 double crochets (dc) in the same stitch or space
Pattern example:
- Row 1: Skip 2 sts, 5 dc in next st (shell), skip 2 sts, sc in next st. Repeat.
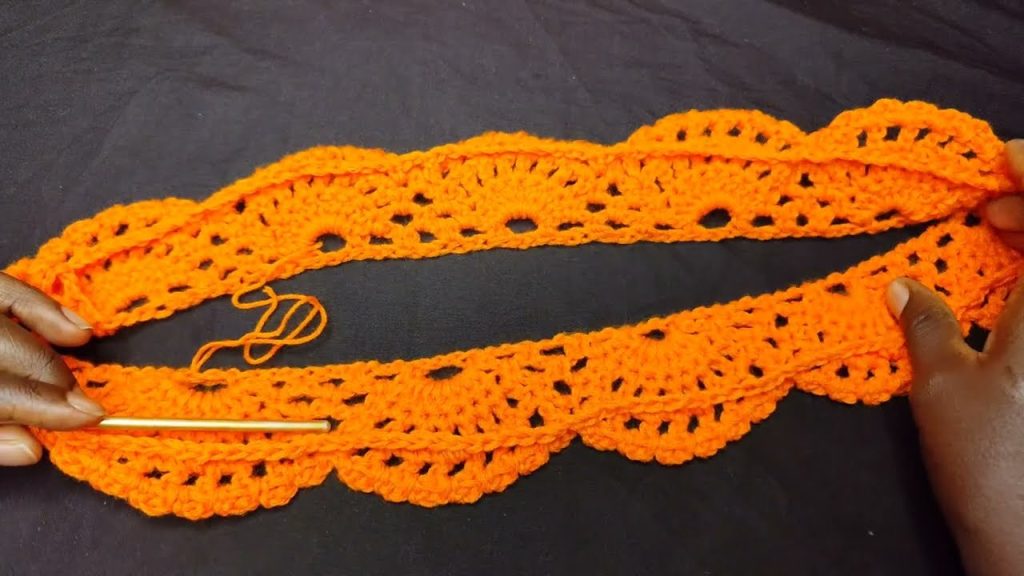
This stitch is perfect for skirts because:
- It creates a breathable, lightweight fabric.
- It adds drape and movement.
- It’s easy to repeat and scale.
📏 Planning Your Shell Stitch Skirt
Before jumping in, a bit of planning goes a long way.
1. Determine the Style
Do you want a:
- Mini, midi, or maxi skirt?
- Fitted or A-line silhouette?
- High-waisted or hip-hugging fit?
- Elastic waistband, drawstring, or zipped?
2. Take Measurements
You’ll need the following:
- Waist circumference
- Hips circumference
- Length of the skirt (waist to desired hem)
3. Choose Yarn & Hook
- Yarn Weight: Light (DK) or Medium (Worsted) works best
- Fiber: Cotton or cotton blends for summer; wool or acrylic blends for colder months
- Hook Size: Typically 4mm–5.5mm, depending on yarn and desired drape
4. Gauge Swatch
Make a swatch using shell stitches to determine how many shells you’ll need to fit your waist and hips. Adjust hook size or stitch count as needed.
🧺 Materials You’ll Need
| Material | Description |
|---|---|
| Yarn | 500–800 yards depending on skirt length/size |
| Crochet hook | 4.0 mm – 5.5 mm, based on your yarn |
| Measuring tape | For body and swatch measurements |
| Stitch markers | Optional but helpful for marking shell rows |
| Elastic band or drawstring | For waistband support |
| Yarn needle | For weaving in ends |
| Scissors | For trimming |
🪡 How to Crochet a Shell Stitch Skirt – Step-by-Step
🧷 STEP 1: Foundation Chain
- Create a foundation chain that matches your hip measurement, adjusted to a multiple of 6 + 1 stitches (required for shell stitch repeats).
Example:
If your hip measurement is 36 inches, and your swatch tells you there are 5 chains per inch, you’ll need around 180 chains (adjust to nearest multiple of 6 + 1, i.e., 181).
- Join the chain with a slip stitch to form a ring. Be careful not to twist the chain.
🧷 STEP 2: Set Up the Shell Stitch Pattern
Round 1 (Foundation row):
- Ch 3 (counts as first dc), 2 dc in same stitch.
- Skip 2 ch, sc in next ch, skip 2 ch, 5 dc in next ch – repeat around.
- End with 2 dc in starting stitch to complete shell. Join with sl st to top of ch-3.
Round 2:
- Sl st to the middle dc of the next shell.
- Ch 1, sc in center dc of shell.
- Ch 2, 5 dc in next sc (between shells), ch 2, sc in center dc of next shell – repeat.
- Join with sl st.
📌 Tips:
- Mark the beginning of rounds with a stitch marker.
- Try it on as you go to adjust for comfort and fit.
🧷 STEP 3: Work the Body of the Skirt
- Continue the shell stitch pattern in spiral or joined rounds, depending on your preference.
- Increase or decrease slightly (by adding/removing shells) if you want to shape the skirt into an A-line or fitted style.
Shaping options:
- A-line flare: Gradually add shells every 5–7 rows by spacing them slightly closer.
- Tapered waist: Work fewer shells or skip shells periodically to taper the top.
🧷 STEP 4: Create the Waistband
There are 3 main ways to finish the waistband:
Option 1: Elastic Waistband
- Leave the top round unfinished.
- Fold the top 1″ down and slip stitch to create a casing.
- Insert an elastic band using a safety pin.
Option 2: Drawstring Waistband
- Crochet a long chain (enough to wrap around waist + 6–8 inches), weave it through the top shells, and tie in front.
Option 3: Ribbed Waistband
- After finishing the skirt body, switch to single crochet (sc) or front/back post dc (for ribbing) for 4–6 rounds.
- This creates a snug, stretchable finish.
🧷 STEP 5: Finishing the Hem
- Finish with a round of single crochets or a decorative picot edge for a fancy finish.
Picot Edge:
- (Sc in next st, ch 3, sl st in first ch) – repeat around.
🧷 STEP 6: Blocking & Finishing
- Block the skirt if your yarn allows: wet or steam block to set the stitches and shape the skirt evenly.
- Weave in all ends securely.
- Try it on and make final adjustments if needed.
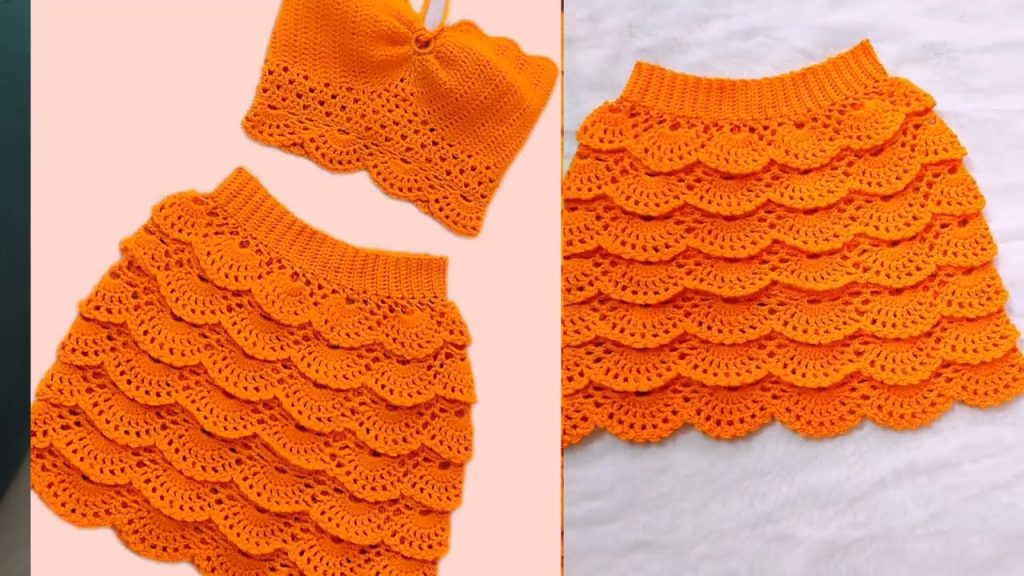
👗 Styling Your Shell Stitch Skirt
Shell stitch skirts are naturally lacy and textured, making them ideal for casual, boho, or elegant styles depending on color and length.
- Mini Skirt: Wear with tank tops, crop tops, tights, or over swimwear.
- Midi Skirt: Great for casual daywear; pair with flats and a fitted top.
- Maxi Skirt: Perfect for beach vacations or evenings out. Pair with wedges and a blouse.
🎨 Customization Ideas
- Color Changes: Use ombré yarn, stripes, or color block designs.
- Waistline Variations: Add buttons, corset-style ties, or even suspenders!
- Lining: Add a lightweight fabric lining for modesty.
- Pockets: Sew or crochet patch pockets for a modern touch.
🔁 How to Adjust for Different Sizes
- Measure your hips and base your starting chain on that.
- For larger sizes, add more shells.
- For smaller sizes, decrease the number of shells or go down a hook size.
Always use your gauge swatch to calculate how many stitches or shells per inch and adjust accordingly.
🚫 Common Mistakes to Avoid
| Mistake | Solution |
|---|---|
| Twisting foundation chain | Lay flat before joining to round |
| Inconsistent stitch height | Practice and block the finished piece |
| Skipping or misplacing shells | Use stitch markers or count regularly |
| Uneven waistband | Consider adding elastic or ribbing for a clean finish |
| Not checking fit | Try on frequently as you crochet |
🧵 Final Thoughts
The shell stitch skirt is a perfect crochet project that combines elegance, comfort, and simplicity. It’s versatile enough for all seasons and easy to personalize to your size and style. With a bit of patience and creativity, you can make a skirt that fits beautifully and turns heads wherever you go.
Video tutorial: