 by
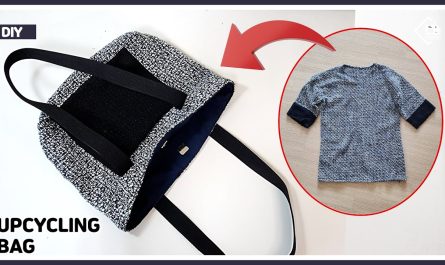
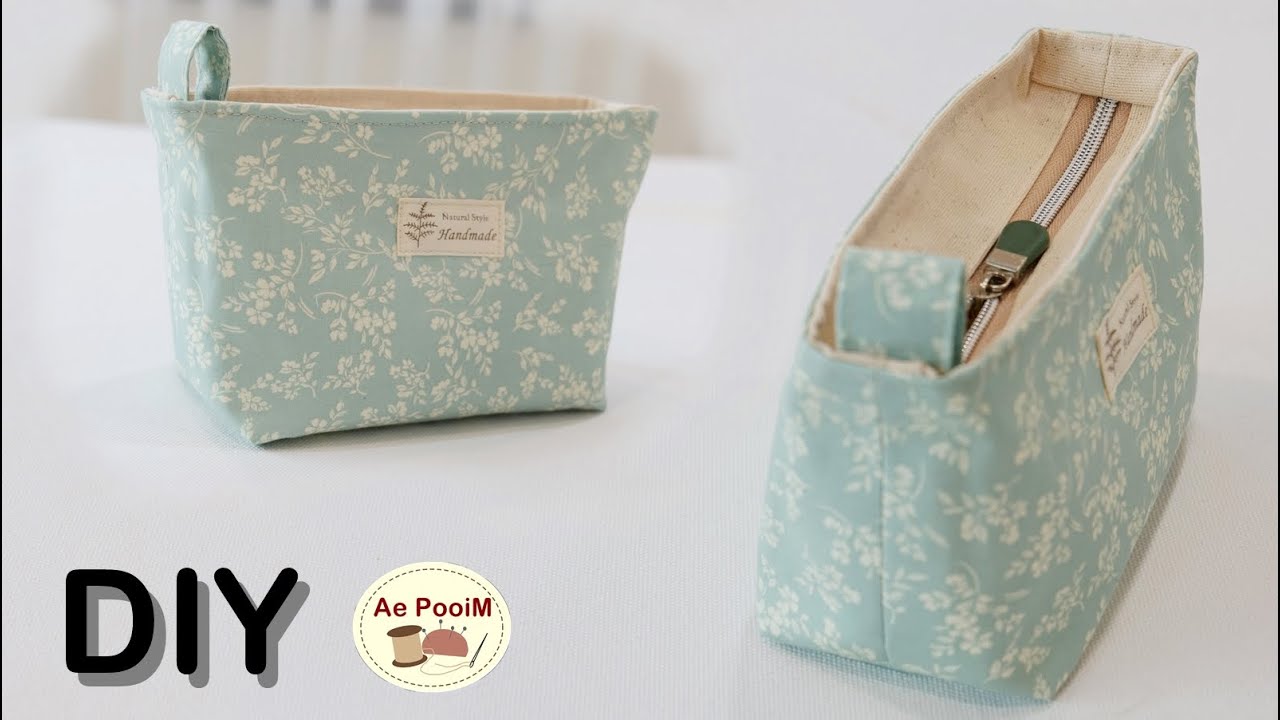
by A handmade pouch bag is a beautiful and personal accessory for a day out, and one made with a simple, yet elegant design is even better. The “Chic & Simple” Crochet Zipper Pouch is a perfect project for any crocheter, featuring a lovely, sturdy stitch pattern that is both stylish and incredibly functional. This detailed tutorial will guide you through creating a lightweight, stylish, and fun pouch that is perfect for carrying your essentials, from makeup to pencils to a small wallet.
This project is an excellent choice for a beginner looking to create a beautiful, practical item or for an experienced crocheter wanting a fast and fun project. The pouch is worked in the round, which makes it a seamless project that is easy to try on as you go.
Why Crochet the Chic & Simple Pouch?
- Sleek & Stylish: The simple design and texture of the stitches create a classic look that never goes out of style.
- Sturdy & Functional: The dense nature of the stitch makes the pouch strong and helps it hold its shape.
- Skill Building: You’ll master the art of working a new, beautiful stitch pattern and learn how to create a seamless pouch and add a zipper.
- Impressive Look: The finished pouch looks much more complicated than it actually is, making it a great conversation starter.
- Customizable: Easily change the size, colors, or add a different handle to make it your own.
1. Planning Your Pouch: Size & Materials
- Finished Size: The pattern is designed for a versatile pouch, approximately 8 inches (20 cm) wide and 6 inches (15 cm) tall. You can easily adjust the size by changing your hook size or the number of increase rounds.
- Yarn Choice: Choose a yarn that is durable and holds its shape well.
- Fiber: A sturdy, medium-weight yarn like Worsted Weight (#4) in Cotton or a Cotton Blend is a great choice.
- Color: A single, solid color will best highlight the stitches, but a variegated yarn could also create a beautiful effect.
- Quantity: You will need approximately 100-150 yards (90-140 meters) of yarn in total.
2. Materials You’ll Need
- Yarn: Your chosen quantity of Worsted Weight (#4) yarn.
- Crochet Hook: 4.0 mm (G-6 US) or a size that gives you a dense but flexible fabric with your yarn.
- Scissors: For cutting yarn.
- Yarn Needle (Tapestry Needle): For weaving in ends.
- Stitch Markers (Optional): To mark the beginning of rounds.
- Zipper: A zipper that is the same length as your finished pouch opening.
3. Essential Crochet Stitches & Techniques
- Slip Knot
- Chain (ch)
- Slip Stitch (sl st): For joining and neatening.
- Single Crochet (sc)
- Working in the Round: The pouch is worked in continuous rounds.
4. Let’s Crochet the Chic & Simple Pouch!
We’ll start with the base, then work up the body, and finish with the top and zipper.
Part 1: The Base (Worked in Rounds)
This creates a flat, sturdy foundation for your pouch.
- Start with a Foundation Chain: Ch 21.
- Round 1: Sc in the 2nd ch from the hook. Sc in each of the next 18 ch. Work 3 sc in the last ch. Rotate your work to work along the other side of the chain. Sc in each of the next 19 ch. Work 2 sc in the last ch. Join with a sl st to the first sc.
- Round 2: Ch 1. Sc in each stitch around, working 2 sc in the 3 sc stitches on each end. Join with a sl st.
- Continue increasing in this manner until the base of the pouch is large enough to be your desired size.
Part 2: The Body (Worked in Rounds)
This is where you’ll create the height of the pouch.
- Rounds 1-20: Ch 1. Sc in each stitch around. Join with a sl st.
- Continue working rounds of sc until the pouch reaches your desired height (for this pattern, about 6 inches / 15 cm tall).
Part 3: Finishing & Adding the Zipper
- Fasten off and weave in all ends securely.
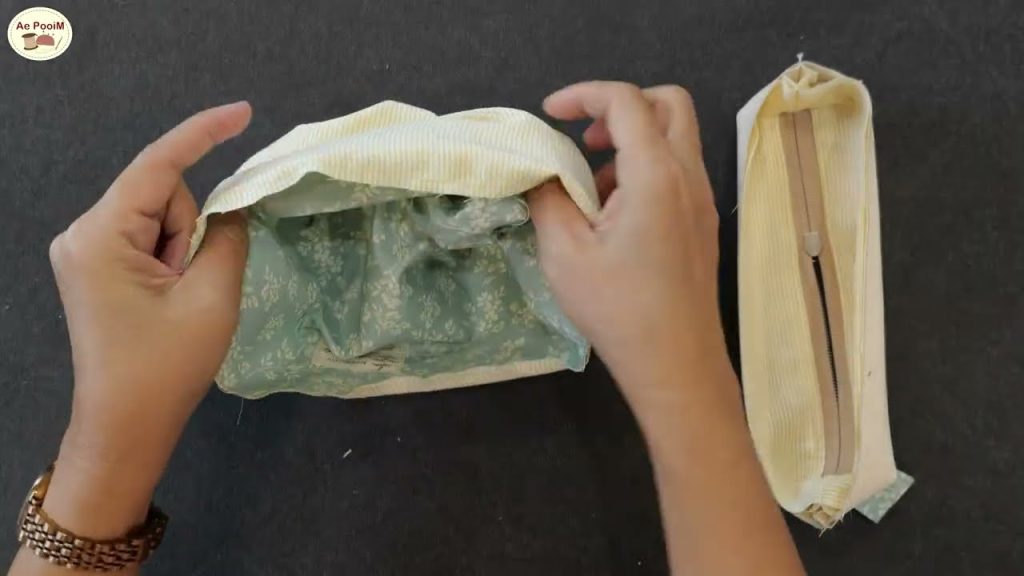
- Adding the Zipper: With a sewing needle and thread that matches your yarn, sew the zipper into the top of the pouch. Make sure to sew it in a way that it is hidden and the stitches are invisible.
Enjoy your beautiful, handmade “Chic & Simple” Crochet Zipper Pouch. Its elegant design and handmade charm are sure to be a conversation starter!
Video tutorial: