
 by
by Give an old, beautiful lace tablecloth a new purpose by transforming it into a pair of elegant and comfortable slippers. This unique upcycling project is a charming way to preserve a special piece of textile while creating something truly one-of-a-kind. The perforated lace allows for a light, breathable slipper, perfect for padding around the house on a warm evening. This project is a great way to practice basic sewing skills while working with a delicate and beautiful material.
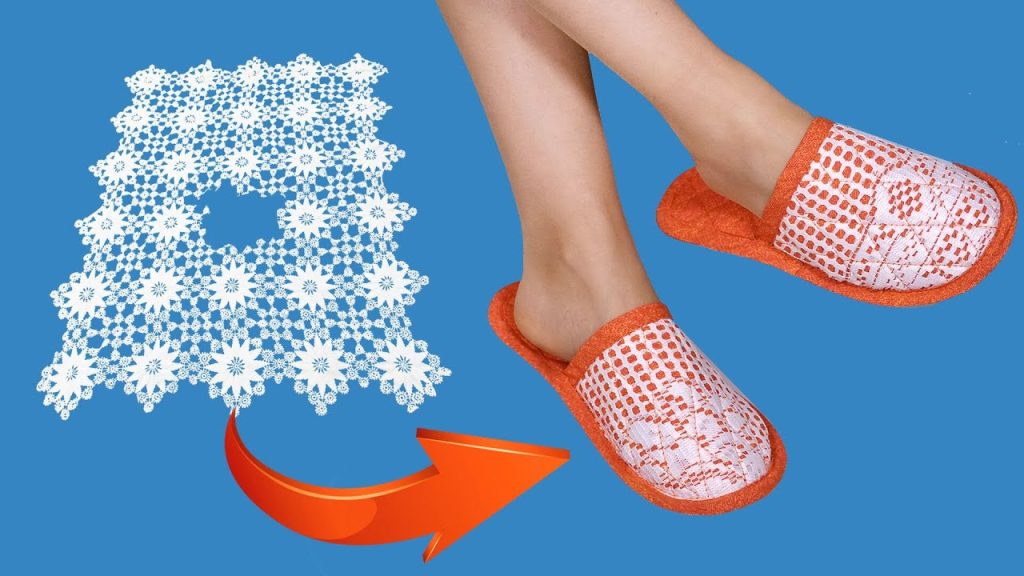
Why Make Lace Slippers from a Tablecloth?
- Sustainable & Unique: Repurpose a vintage or inherited tablecloth into a functional item, giving it new life and a personal story.
- Lightweight & Breathable: The open, airy nature of the lace makes these slippers incredibly comfortable for lounging.
- Simple Construction: This pattern uses a basic slipper shape, making it accessible for sewists of all skill levels.
- Personal Touch: The unique design of your tablecloth will ensure your slippers are unlike any other.
What You’ll Need:
- Perforated Lace Tablecloth: One tablecloth large enough to cut out the top and sole pieces for both slippers. The sturdier the lace, the better.
- Sole Fabric: A durable, non-slip fabric for the bottom of the slippers. Faux suede, felt, or a rubberized grip fabric is ideal.
- Lining Fabric: A soft, comfortable fabric for the interior. Fleece, flannel, or a soft cotton jersey works well.
- Batting (Optional): A thin layer of quilt batting to make the soles and tops more cushioned.
- Thread: All-purpose thread that matches your lace.
- Sewing Machine: A machine with a walking foot is helpful for multiple layers, and a ballpoint or stretch needle may be needed for knit lining.
- Tools:
- Slipper pattern (you can find free templates online or trace a simple existing slipper).
- Sharp fabric scissors.
- Pins or fabric clips (use fine pins to avoid damaging the lace).
- Fabric marker or tailor’s chalk.
- Iron and ironing board.
Step-by-Step Construction Guide:
This tutorial assumes a basic, two-piece slipper pattern (a top piece and a sole piece). All seam allowances are 1/4 inch unless otherwise stated.
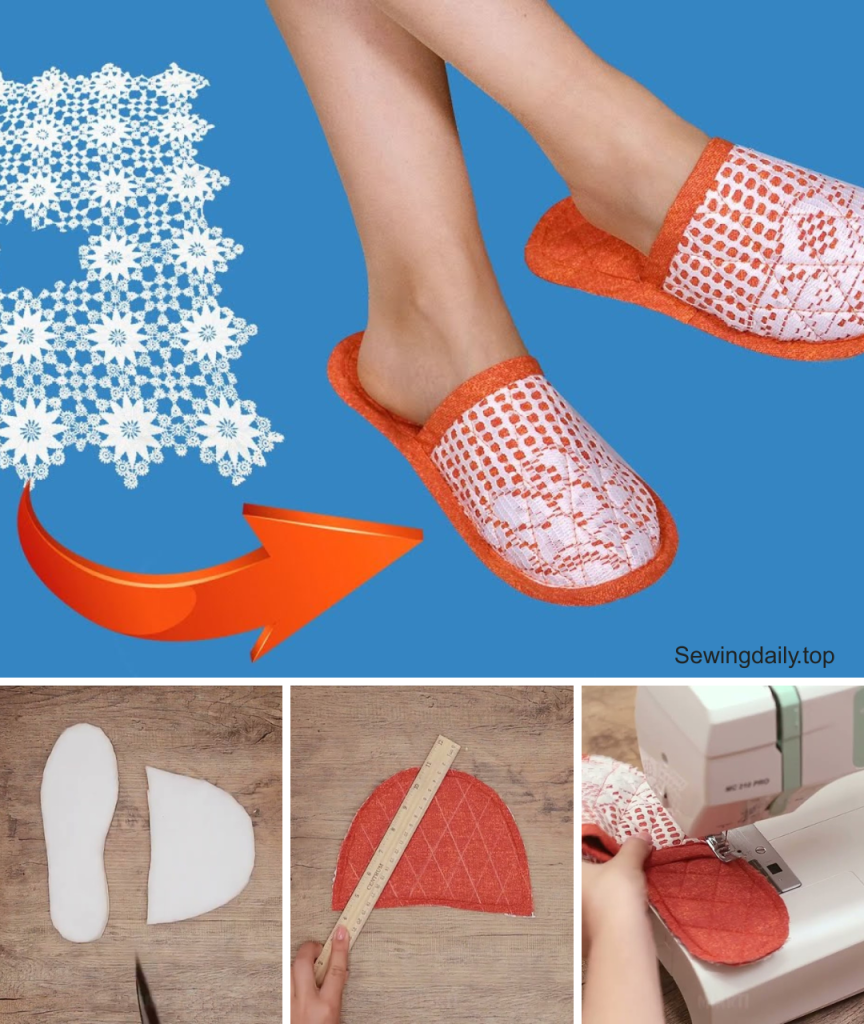
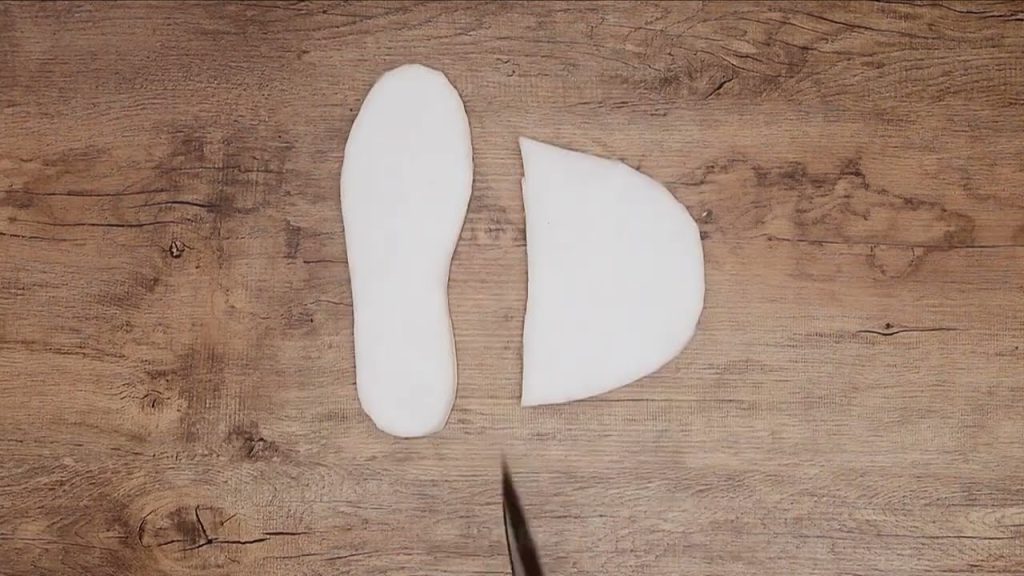
1. Prepare and Cut Your Pattern Pieces
- Trace a Pattern: Find a free online slipper pattern or trace around an existing, simple slipper that fits you well. You’ll need two sole pieces (one for each foot) and two top pieces. Make sure to flip the pattern pieces for the second slipper so you get a left and right.
- Cut from Your Tablecloth: Carefully lay your lace tablecloth flat. Place the sole pattern pieces on a part of the tablecloth that is sturdy and free of major tears. Do the same for the top pieces. Pin the patterns to the lace, taking care not to distort the delicate fabric. Cut out four sole pieces (two for each slipper) and four top pieces (two for each slipper).
- Cut Lining & Sole Fabric:
- Cut out two sole pieces and two top pieces from your soft lining fabric.
- Cut out two sole pieces from your non-slip sole fabric.
- Cut out two sole pieces and two top pieces from your batting (if using).
2. Assemble the Slipper Tops and Soles
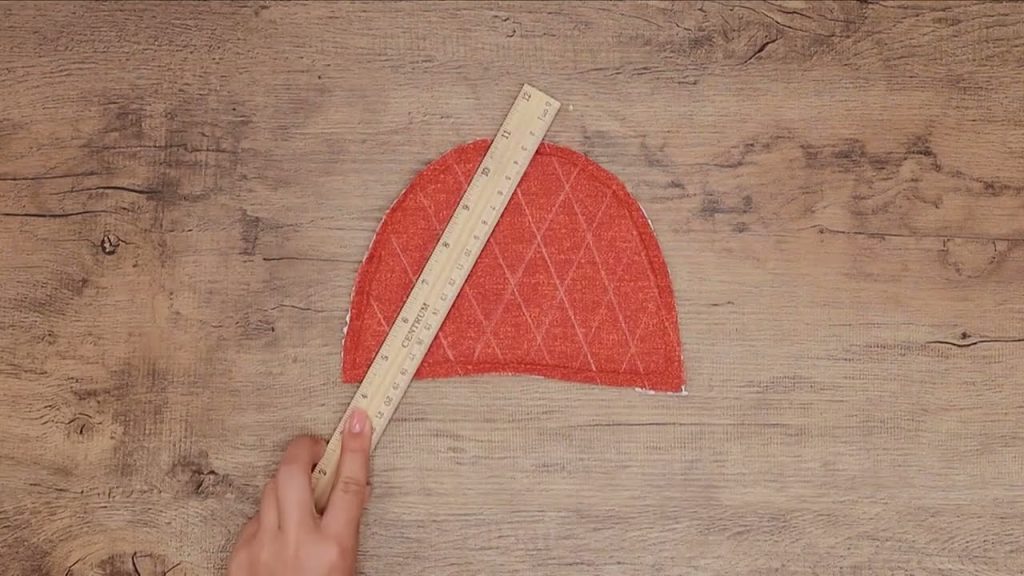
- Quilt the Soles (Optional): To add padding and durability, create a “sandwich” for the soles: sole fabric (non-slip side down) -> batting -> lace piece (right side up). Pin all three layers together. Using a simple running stitch or a free-motion quilting foot, stitch through all layers to hold them together. Repeat for the second slipper. Trim any excess batting or fabric.
- Quilt the Slipper Tops (Optional): Create a “sandwich” for the slipper tops: lining fabric (wrong side down) -> batting -> lace piece (right side up). Pin the three layers and stitch through all layers to hold them together. Repeat for the second slipper.
- Create the Slipper Top Piece: Take your two lace slipper top pieces. Place them right sides together and stitch along the curved front edge. This seam will become the center front of your slipper. Trim the seam allowance and clip the curve. Turn the piece right side out and press it gently.
- Create the Slipper Sole Piece: Take the two quilted sole “sandwiches” you made. You can choose to use the extra lace sole piece for a thicker, more structured bottom, or omit it. Place the lace sole piece over the top of the quilted sole piece. Stitch the two sole layers together around the edges to secure. Repeat for the second slipper.
3. Attach the Slipper Top to the Sole
- Match the Pieces: Take your completed slipper top piece and your sole piece. Find the center of the heel and the center of the toe on both pieces and mark them with a pin.
- Pin in Place: With the slipper top piece right side up and the sole piece right side up, align the centers and pin them together. Carefully ease the top piece around the sole, pinning as you go. The lace should fit neatly around the sole piece, with all raw edges aligned.
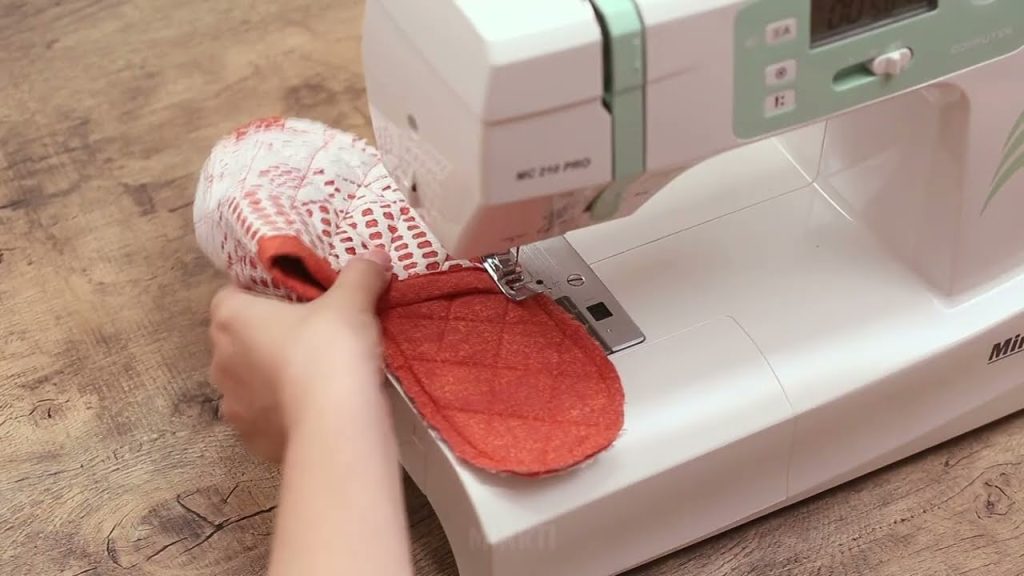
- Sew Together: Using a straight stitch, carefully sew all the way around the perimeter of the sole, joining the top to the sole. Sew slowly and carefully, especially around the curves, to ensure a smooth join.
- Finish the Edge: To give your slippers a neat finish and hide the raw edges, you have a few options:
- Bias Tape: This is the most durable option. Attach a piece of coordinating bias tape around the entire perimeter of the slipper.
- Zigzag Stitch: Use a zigzag stitch or a serger to finish the raw edges.
- Ribbon: Stitch a decorative ribbon over the raw edge for a charming look.
Tips for Working with Lace:
- Use a Microtex or Ballpoint Needle: These needles are designed to slide between the threads of the fabric instead of piercing them, which can prevent snags and tears in delicate lace.
- Stitch Slowly: Take your time with each seam to ensure accuracy and to avoid bunching or distorting the lace.
- Finger-Press or Use a Pressing Cloth: Lace can be delicate and can melt under high heat. Use a low heat setting and a pressing cloth when ironing.
- Add Reinforcement: For extra durability, you can add a layer of sturdy interfacing to the sole and top pieces.
Your beautiful, one-of-a-kind lace slippers are now ready to be worn! Enjoy the comfort and style of your upcycled creation.
Video tutorial: